How to Host Loki for Free in 2026 (Complete Beginner's Guide)
Looking for free Loki hosting? Learn how to deploy Loki with MS Host, configure login credentials, manage deployment logs, verify your instance, and start monitoring applications in minutes.

Learn how to host Loki for free using MS Host. Deploy your own Loki instance in minutes, configure secure access, monitor deployment logs, and manage centralized logging without setting up servers or Docker.
Introduction
Logs are one of the most valuable resources for developers.
Every API request, authentication attempt, database query, and application event generates logs that help you understand what's happening inside your application.
As your projects grow, however, log management quickly becomes challenging.
Instead of checking logs across multiple servers, containers, and applications, developers now use centralized logging platforms.
One of the most popular solutions available today is Loki.
Unlike traditional logging systems that index every log entry, Loki indexes only metadata (labels), making it lightweight, scalable, and significantly more storage-efficient.
The downside?
Deploying Loki manually often requires setting up Linux servers, installing Docker, configuring networking, managing storage, and maintaining updates.
Fortunately, there's an easier way.
With MS Host, you can deploy a fully managed Loki instance in just a few minutes—without worrying about infrastructure.
In this guide, you'll learn how to deploy Loki for free using MS Host.
Why host Loki on MS Host?
Deploying Loki manually usually requires:
- Installing Linux
- Configuring Docker
- Managing storage
- Opening firewall ports
- Configuring networking
- Maintaining updates
- Monitoring uptime
For many developers, that's unnecessary complexity.
MS Host eliminates those steps by providing a managed deployment platform.
Benefits include:
- Free hosting plan
- One-click deployment
- No server management
- Secure username and password authentication
- Runtime logs
- Custom domain support
- Deployment dashboard
- Easy project management
Instead of maintaining infrastructure, you can focus on monitoring your applications.
Getting Started with MS Host
Step 1: Create an Account
Visit MS Host and click Login.
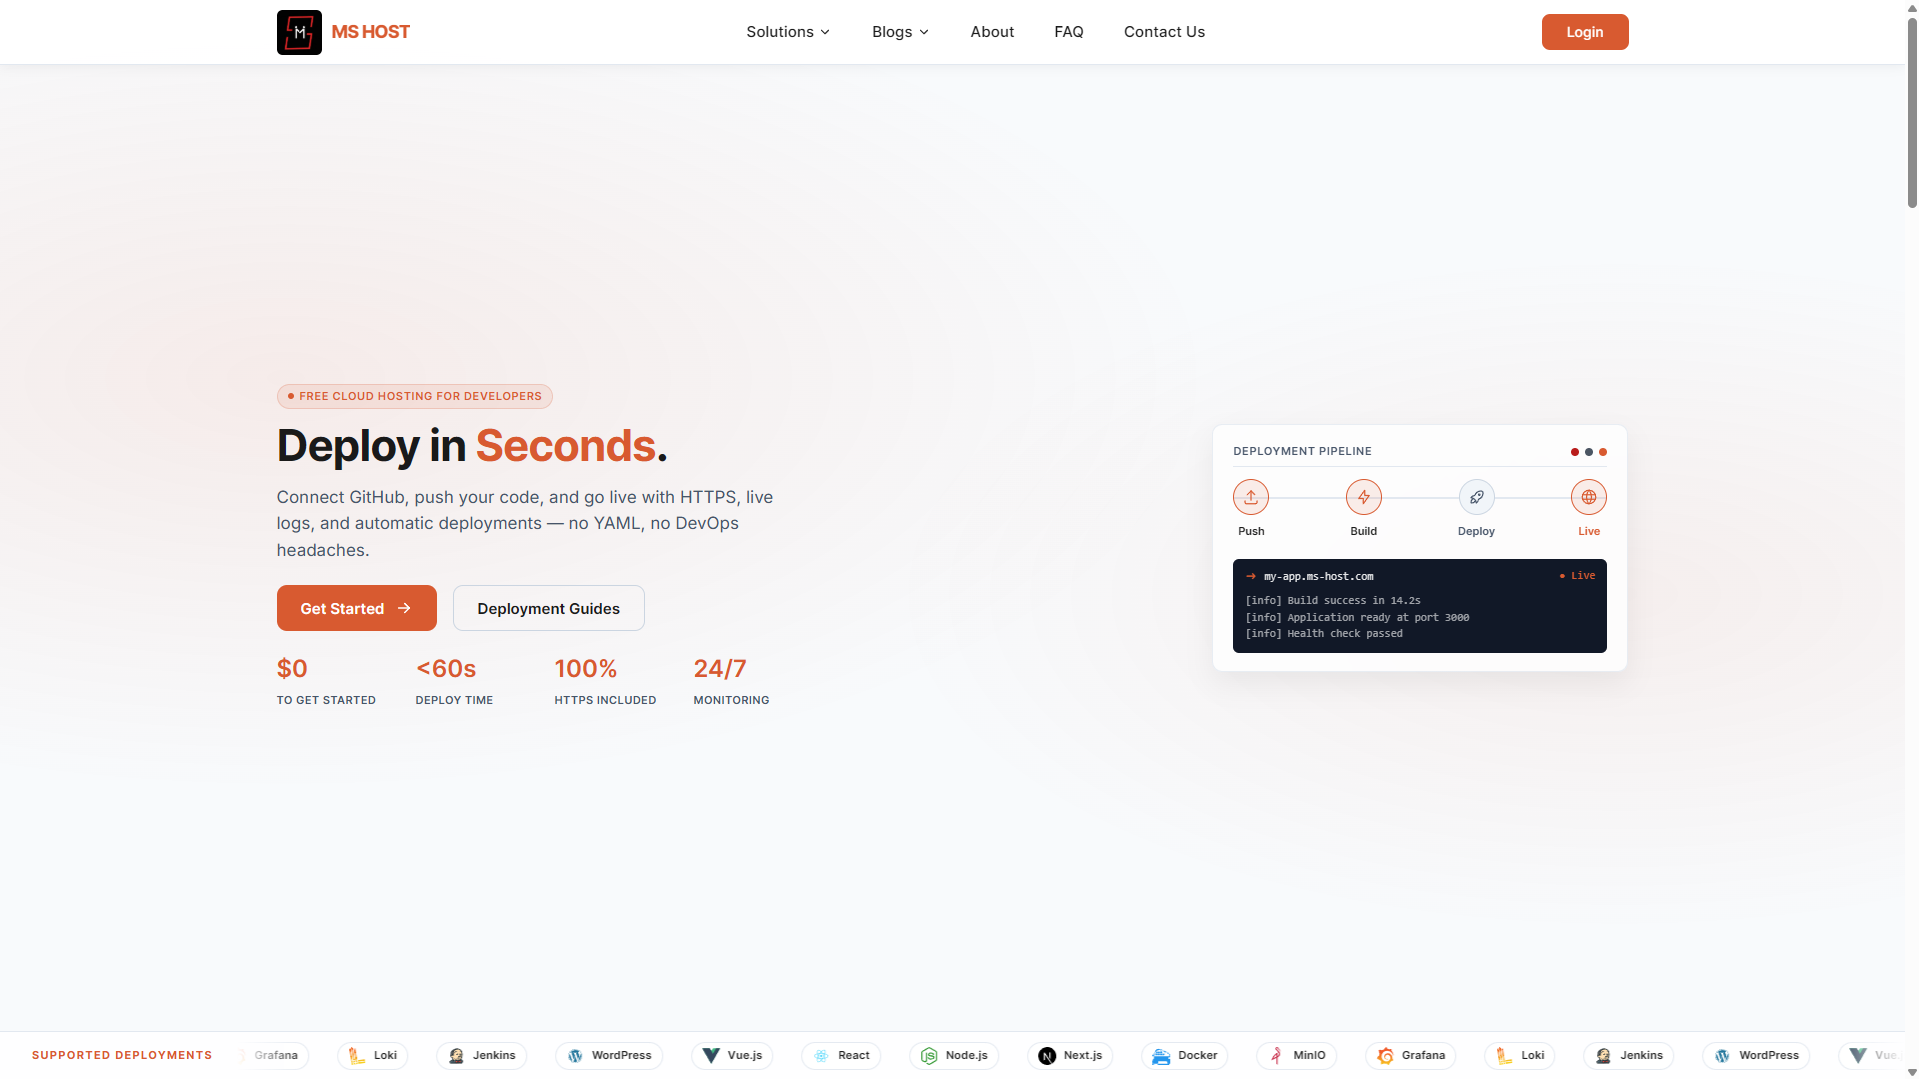
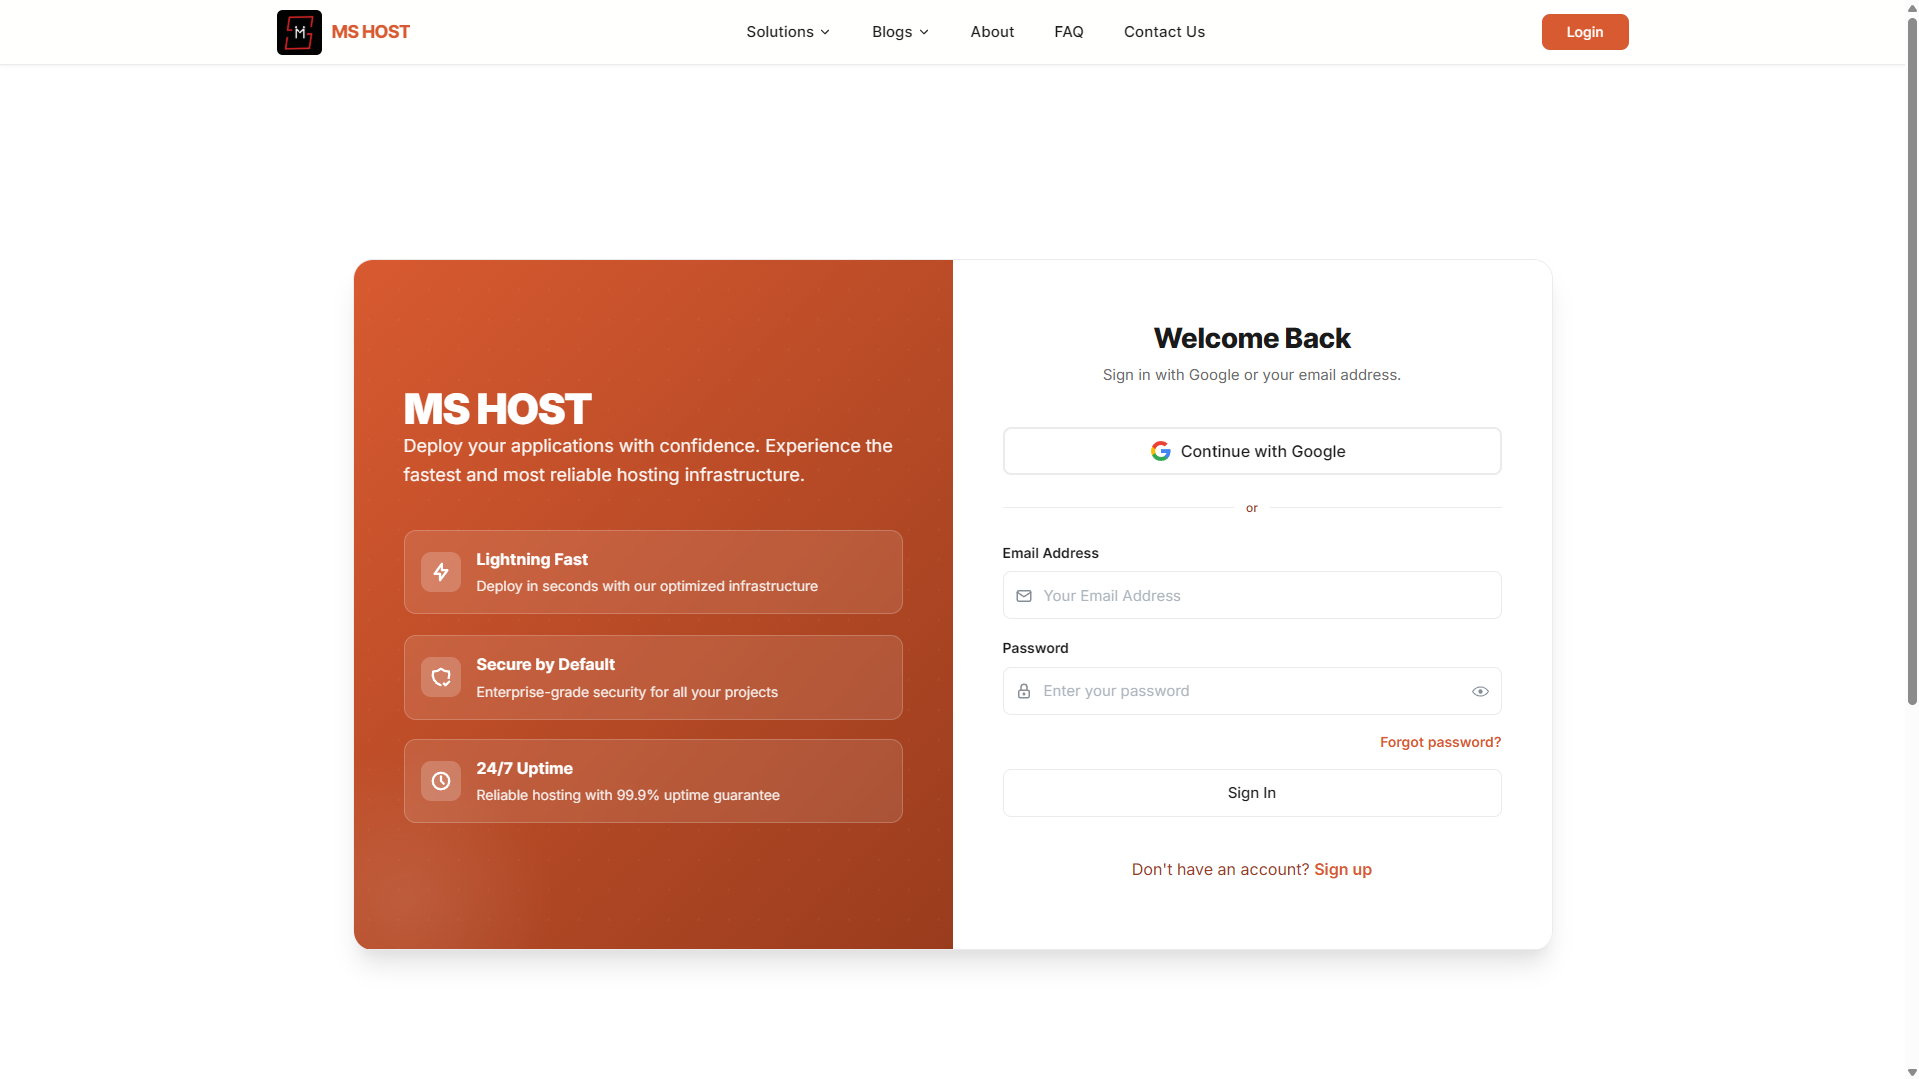
If you're a new user, click Sign Up to create your account.
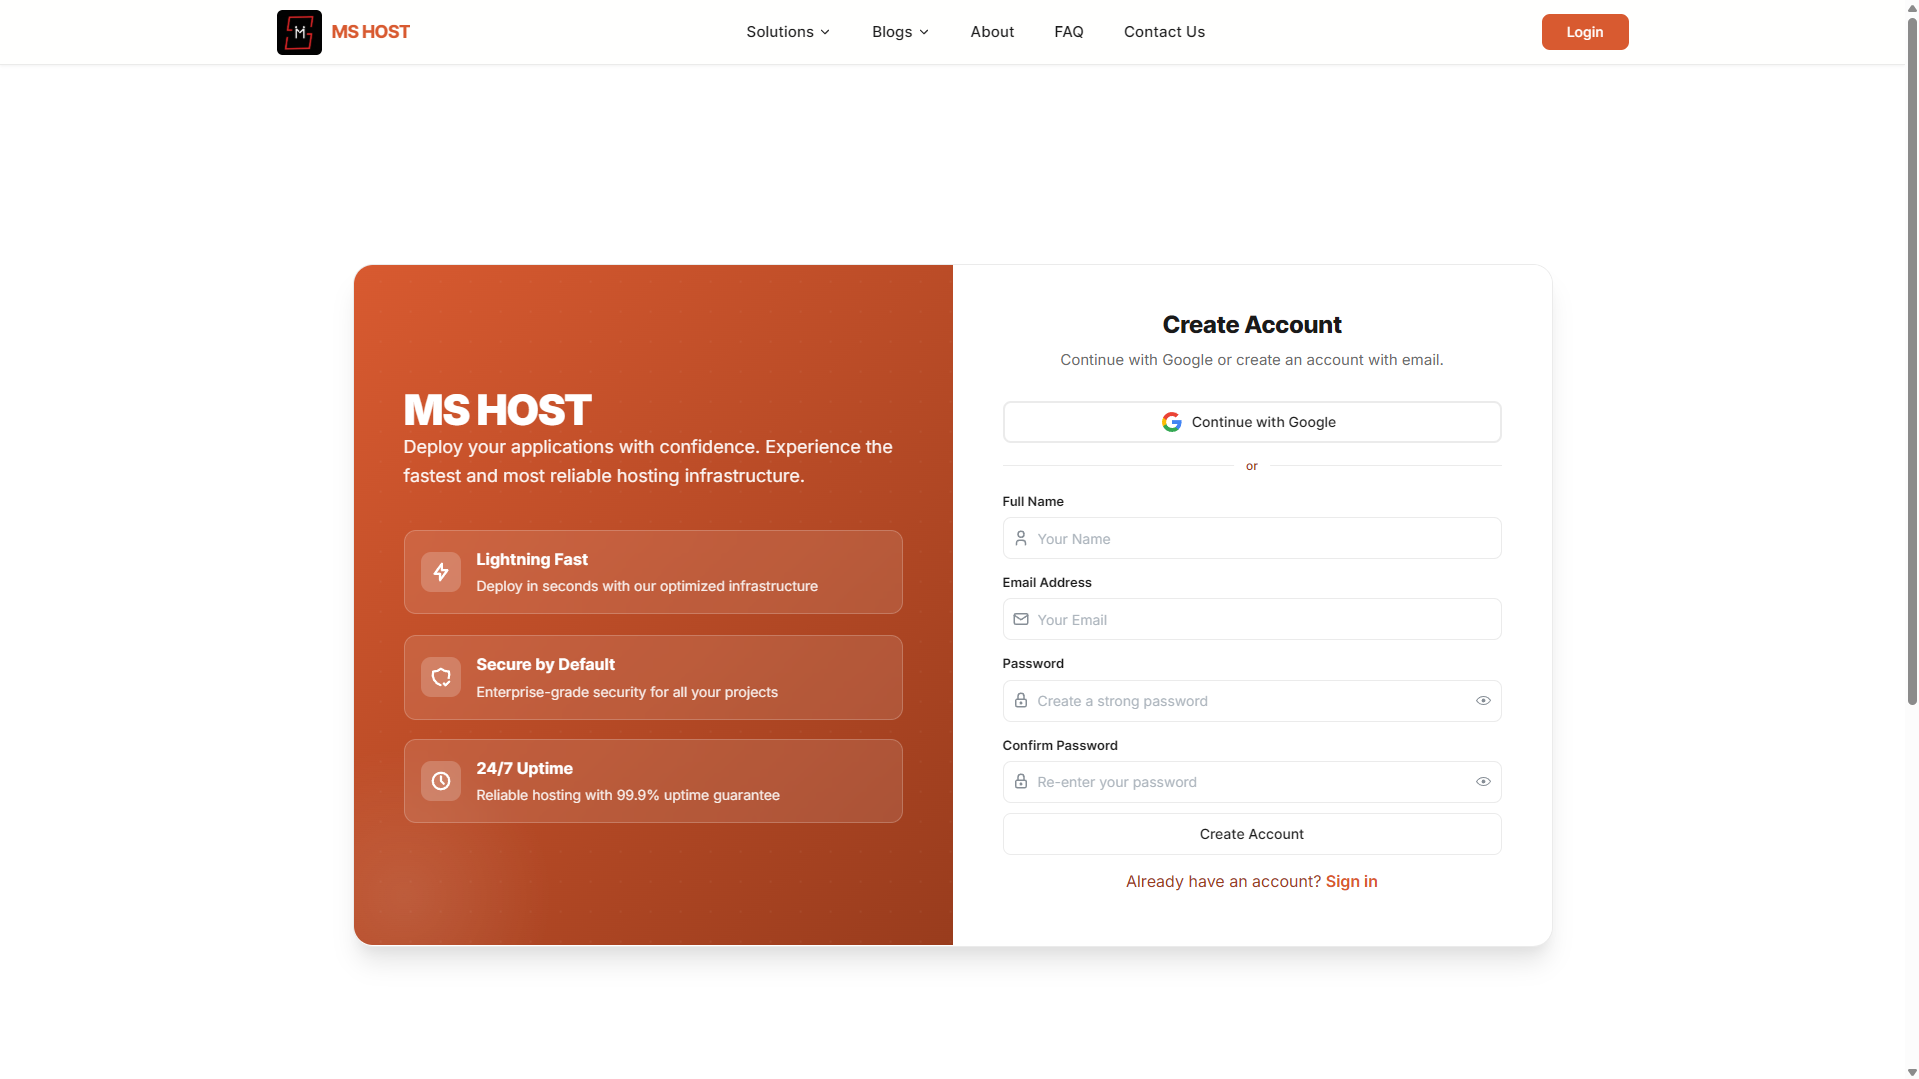
You can also choose Continue with Google to sign in instantly.
After logging in, you'll be redirected to the MS Host dashboard.
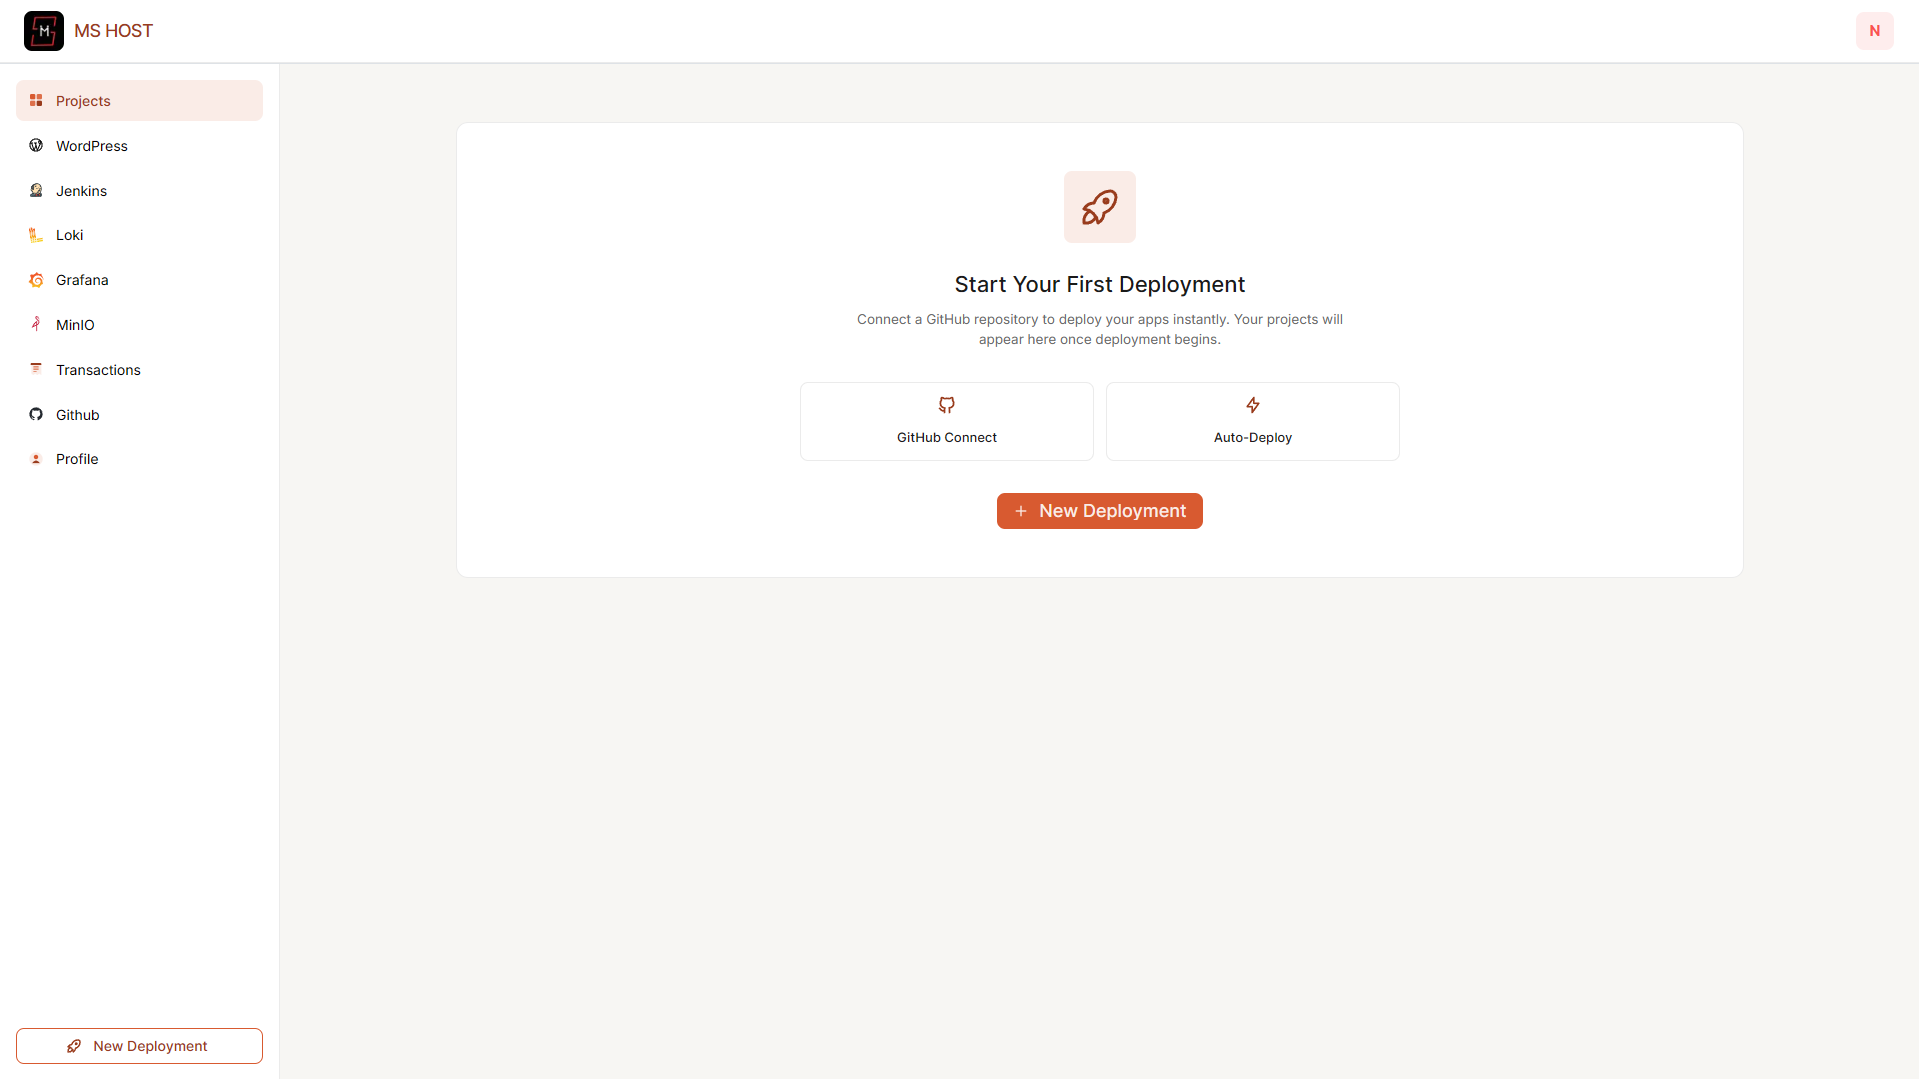
Step 2: GitHub Configuration
Inside your dashboard, you'll find the GitHub Configuration section.
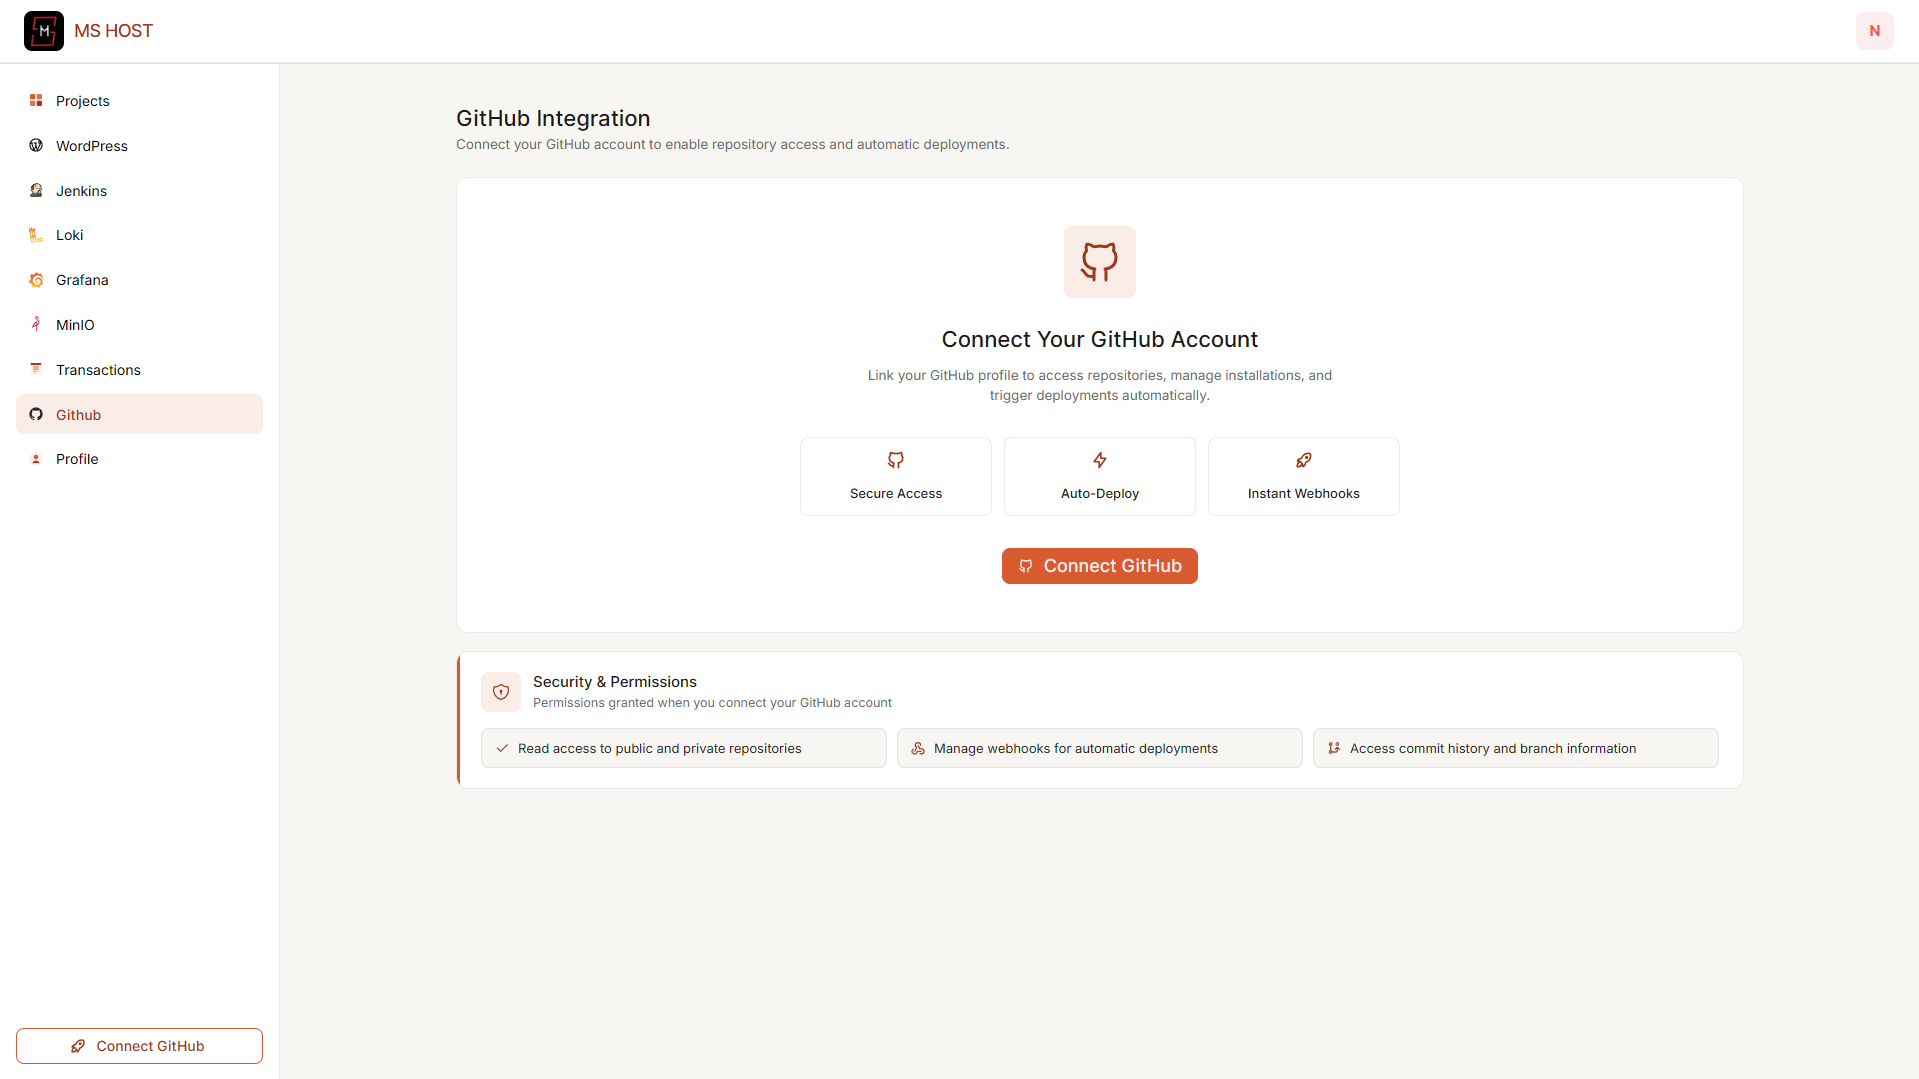
Here, you can connect and manage your GitHub account for future application deployments.
Although Loki doesn't require a GitHub repository, connecting to GitHub allows you to deploy supported applications such as Next.js, React, Vue.js, NestJS, and Node.js later.
Step 3: Open the Loki Section
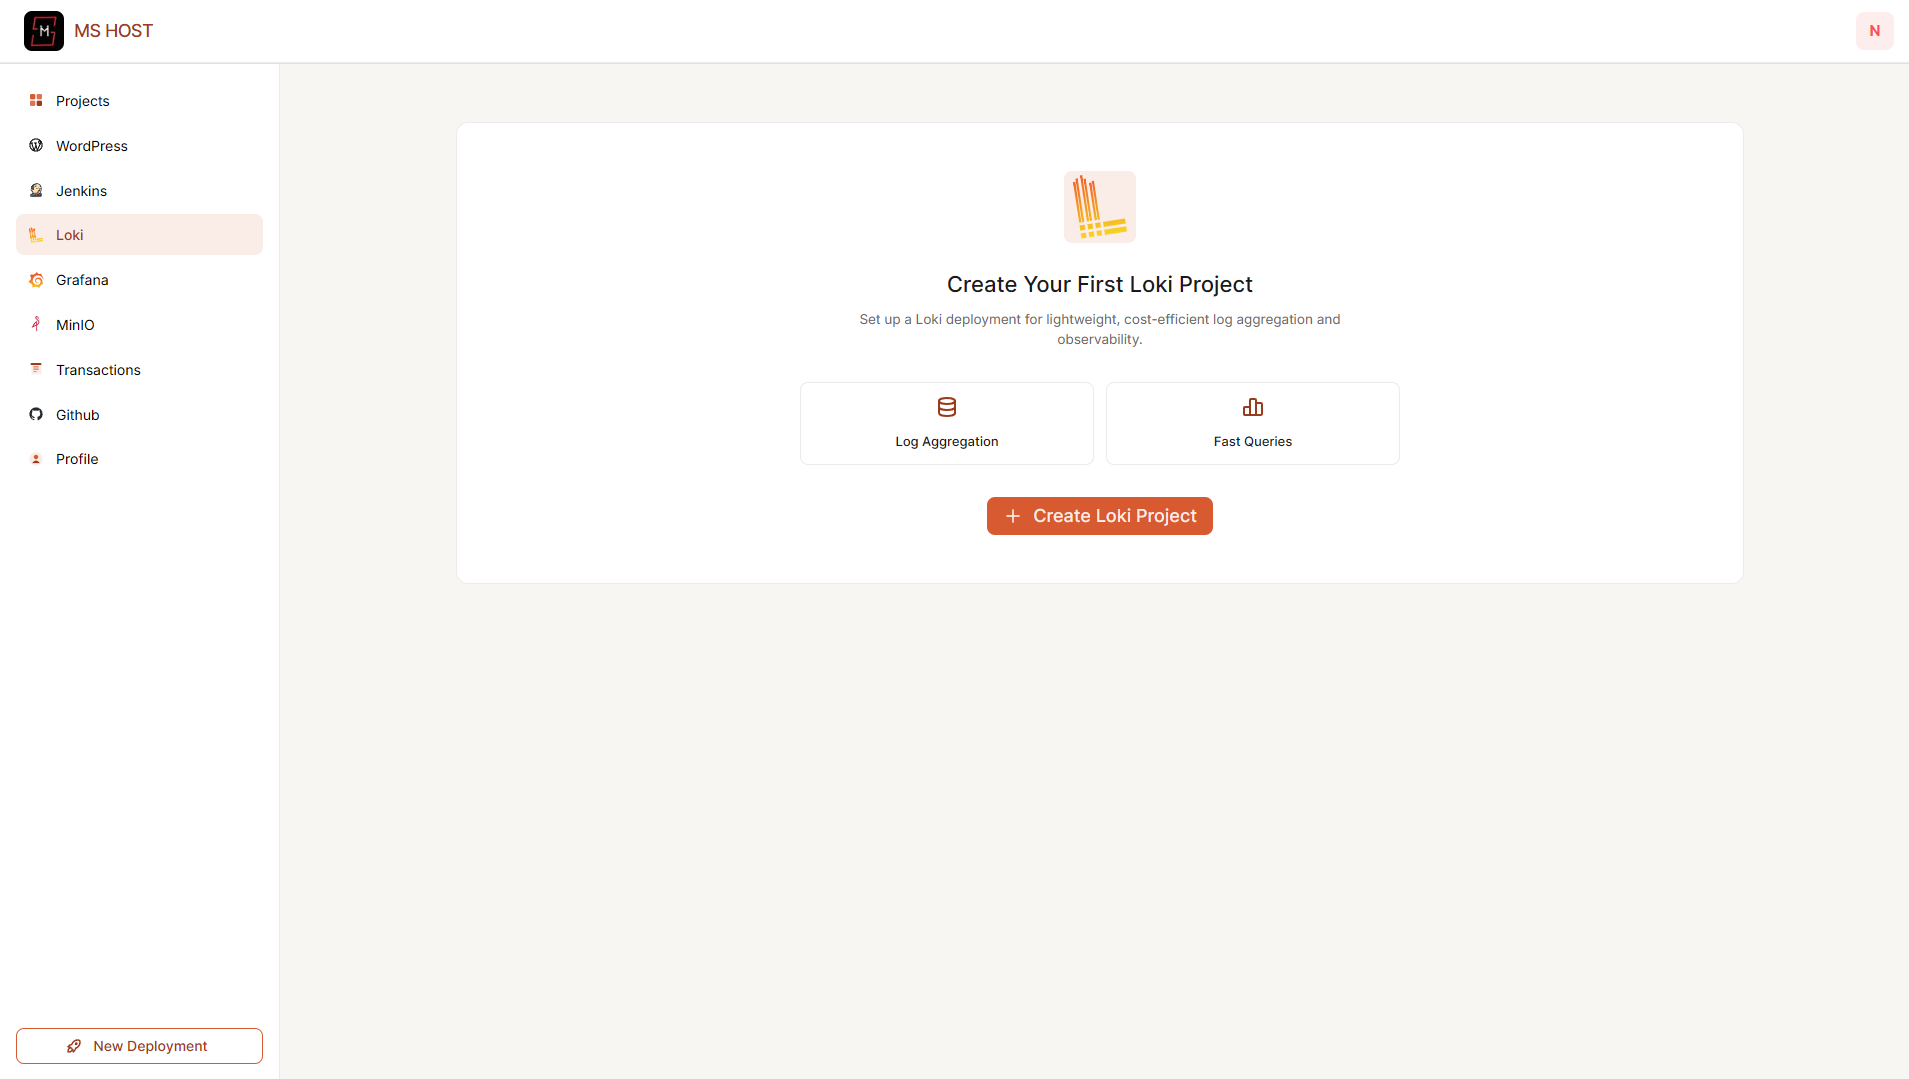
From the left sidebar, select:
Loki
If this is your first deployment, you'll see:
Create Your First Loki Project
Click:
Create Loki Project
to begin.
Deploy Loki with MS Host
Step 1: Give Your Loki Project a Name
Choose a unique and memorable project name.
Examples:
production-logs
or
my-loki
This name helps you identify your deployment later from the dashboard.

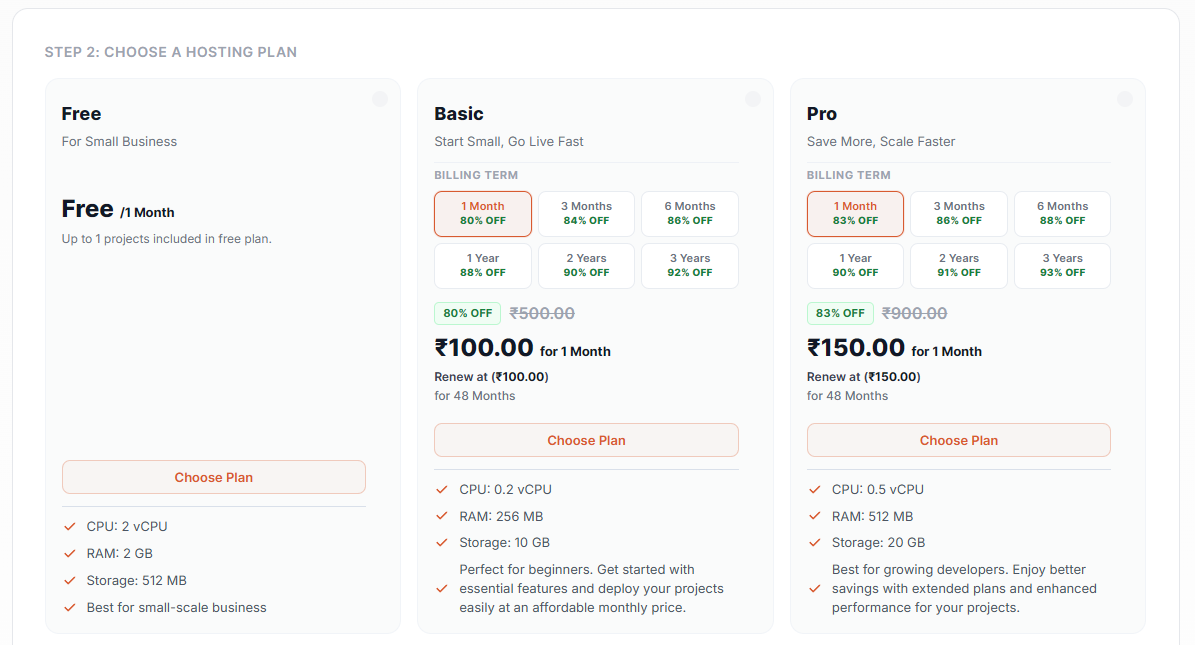
Step 2: Select a Hosting Plan
Choose the hosting plan that best matches your requirements.
If you're just getting started, the Free Plan is a perfect choice.
It includes everything you need to learn about Loki and begin collecting logs.
Step 3: Configure Your Loki Credentials
Before deployment, create the login credentials for your Loki instance.
Configure:
- Username
- Password
These credentials will be required whenever you access your Loki dashboard.
Choose a secure password and store it safely.

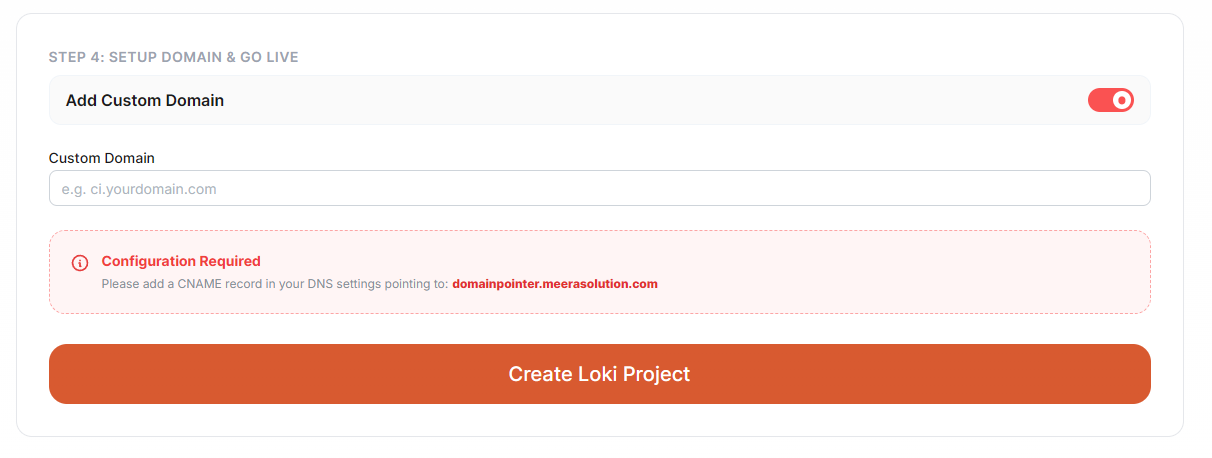
Step 4: Configure a Custom Domain (Optional)
If you'd like to use your own domain, enable the custom domain option.
Examples:
logs.example.com
or
loki.yourdomain.com
MS Host will provide a DNS CNAME record.
Simply add the provided record to your domain's DNS settings.
If you don't have a domain yet, you can skip this step and continue using the generated deployment URL.
Step 5: Create Your Loki Project
After reviewing your configuration, click:
Create Loki Project
MS Host will automatically:
- Provision your Loki instance
- Configure the environment
- Deploy the application
- Generate runtime logs
Within a few minutes, your Loki instance will be online.
Monitor Deployment
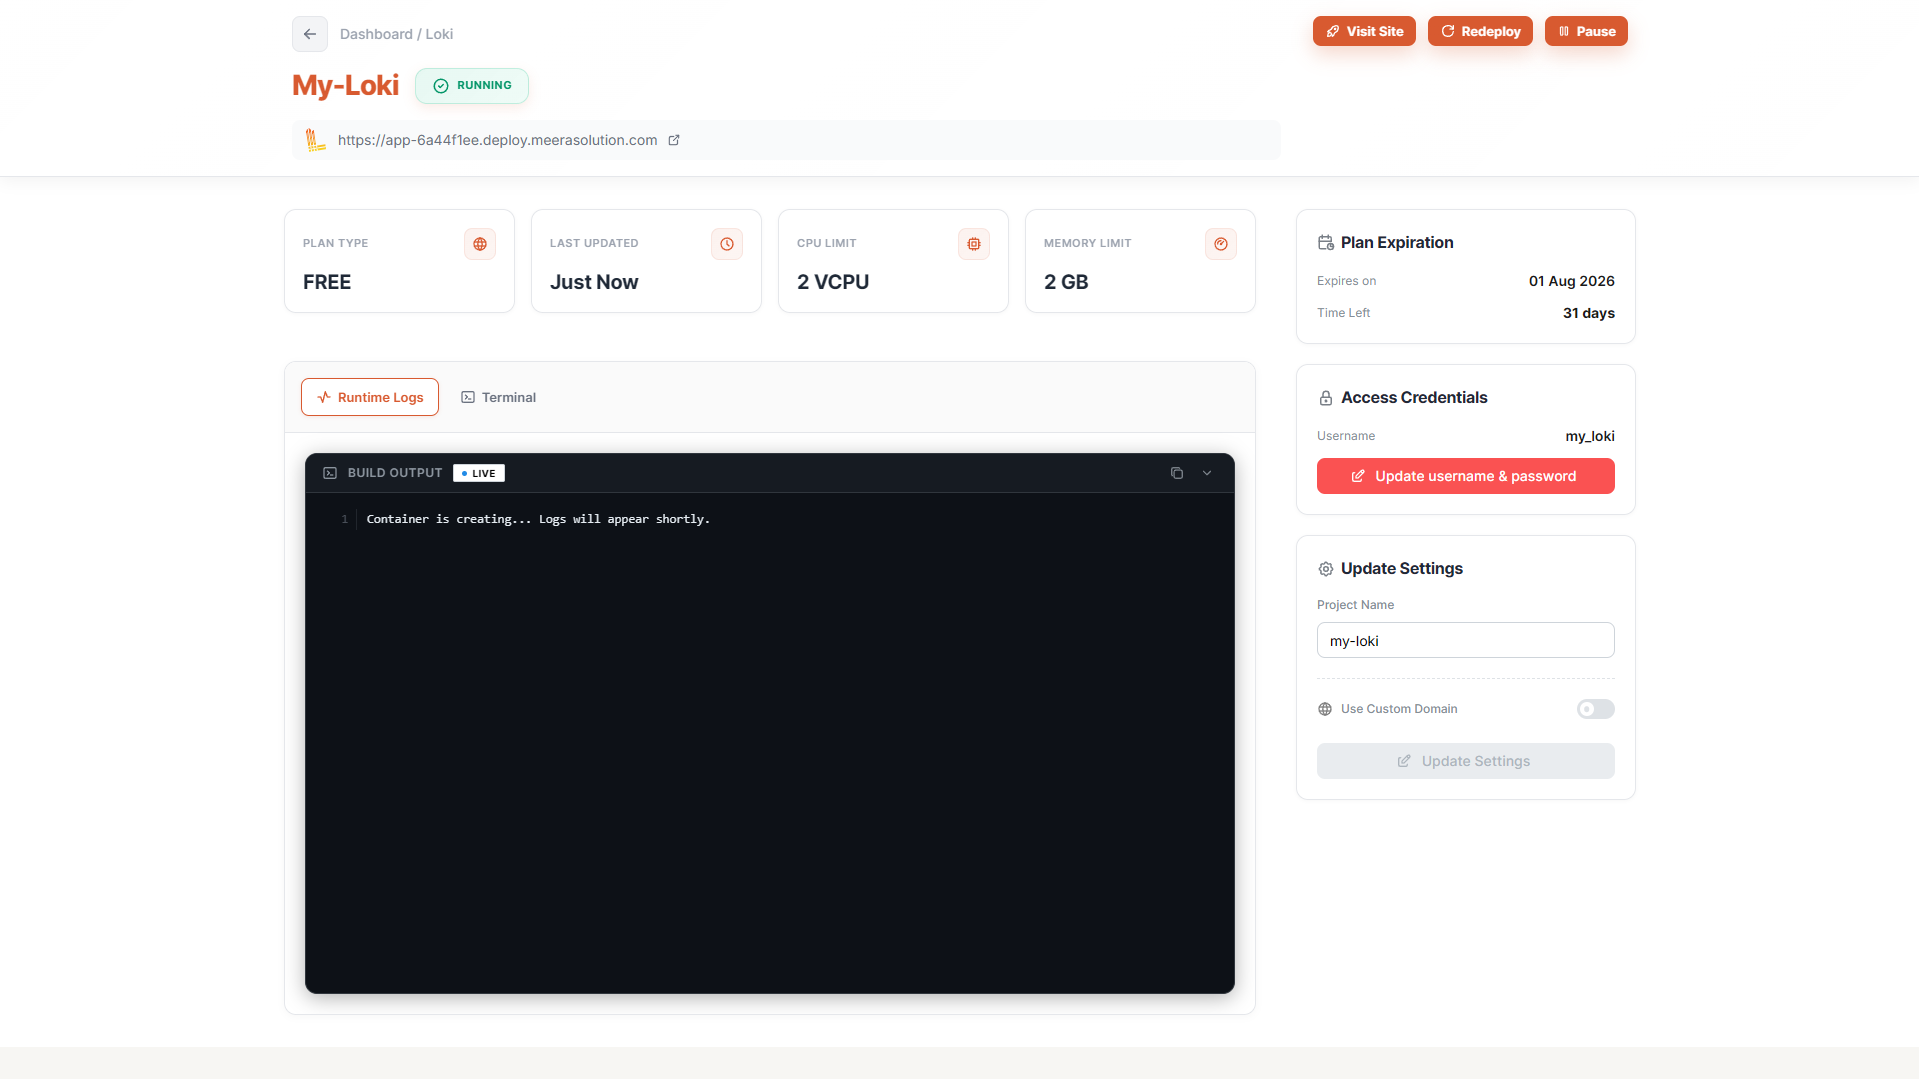
Once deployment begins, you'll be redirected to the project dashboard.
From here, you can monitor your deployment in real time.
The dashboard displays:
- Project Name
- Deployment Status
- Plan Type
- Plan Expiration Date
- Remaining Plan Time
- CPU Limit
- Memory Limit
- Last Updated
- Runtime Logs
Everything you need to manage your Loki instance is available from one place.
Manage Your Loki Instance
After deployment, MS Host allows you to manage your instance without redeploying it.
Update Credentials
You can change your:
- Username
- Password
at any time.
Update Project Settings
You can also modify:
- Project Name
- Custom Domain
directly from the dashboard.
No redeployment is required.
Watch the Build Process
During deployment, the Build Logs section streams the deployment process in real time.
This helps you:
- Monitor installation progress
- Verify successful deployment
- Troubleshoot deployment issues
Once the build completes successfully, your Loki instance is ready to use.
Access Your Loki Dashboard
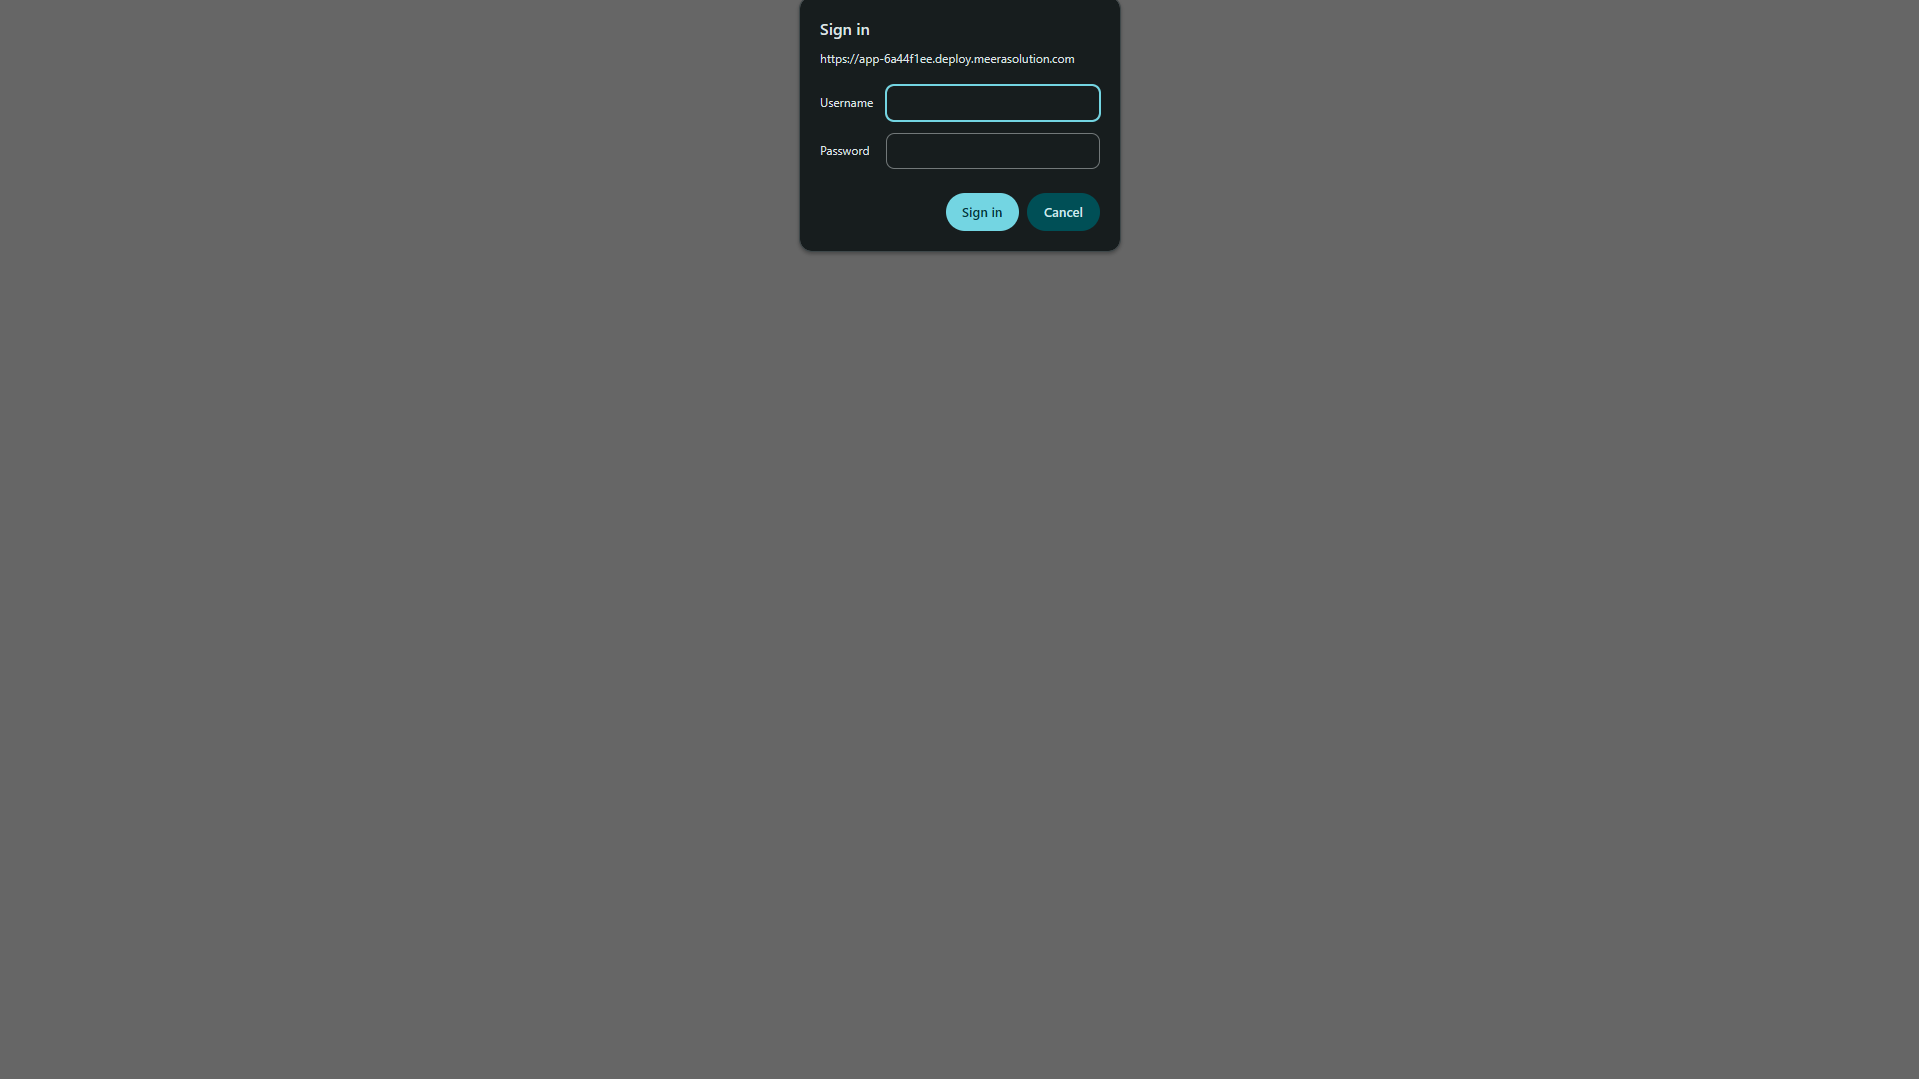
Click the deployment URL displayed on your dashboard.
When prompted, enter the username and password you configured during deployment.
After authentication, you'll have access to your Loki instance.
Verify Your Deployment
To confirm that your Loki instance is running correctly, append:
/ready
To your deployment URL.
Example:
https://your-loki-instance.example.com/ready
If deployment has just completed, wait approximately 15 seconds, then refresh the page.
If the browser returns:
ready
Your Loki instance is running successfully and ready to receive log data.

Common Loki Use Cases
Loki is commonly used for:
Application Logging
Collect logs from web applications and APIs.
Container Monitoring
Aggregate logs from Docker and Kubernetes environments.
Microservices
Centralize logs across distributed services.
Production Troubleshooting
Quickly identify errors and performance issues.
Security Auditing
Monitor authentication attempts, API requests, and system activity.
Final Thoughts
Centralized logging is an essential part of modern software development, and Loki is one of the best tools for collecting, storing, and searching application logs.
Instead of spending hours configuring servers, Docker containers, and networking, MS Host lets you deploy a fully managed Loki instance in just a few clicks.
Create your account, deploy your Loki project, configure your credentials, and start monitoring your applications within minutes.
Build faster, troubleshoot smarter, and keep your applications running with confidence.
Happy logging! 🚀