How to Deploy a React Vite App for Free in 2026 (Complete Beginner's Guide)
Looking for free React hosting? Discover how to build, deploy, and manage React Vite applications with MS Host using GitHub integration, automatic deployments, and custom domains.

Learn how to deploy your React application for free using MS Host with GitHub integration.
Introduction
Building a React application is easier than ever.
With modern tools like Vite, developers can create lightning-fast applications in minutes. The development experience is smoother, builds are faster, and projects are easier to maintain than older tooling solutions.
But after building your application, one question always remains:
How do you get it online?
Many developers spend hours researching hosting providers, configuring servers, and learning deployment workflows before their project ever reaches real users.
Fortunately, modern deployment platforms have simplified the entire process.
In this guide, you'll learn how to deploy your React application for free using MS Host.
Why Deployment Can Be Confusing
Many developers get stuck after finishing development.
Questions often include:
- Which hosting platform should I choose?
- How do I connect GitHub?
- Do I need a VPS?
- How do I handle updates?
- How do I configure domains?
Traditional hosting solutions often require server management and manual deployment steps.
Modern platforms remove that complexity.
Why Choose MS Host?
MS Host allows developers to deploy applications directly from GitHub without managing infrastructure.
Benefits include:
- Free hosting plan
- GitHub integration
- Custom domains
- Live deployment logs
- SSL support
- Modern frontend framework support
Instead of managing servers, developers can focus on building products.
Watch the Complete React deployment tutorial
Want to see the deployment process in action?
This complete video tutorial shows you how to deploy a React application built with Vite on MS Host from start to finish. You'll learn how to connect your GitHub repository, create a new deployment project, configure the required settings, monitor the build process, and publish your application online in just a few minutes.
Whether you're deploying a personal portfolio, business website, or React project for the first time, this walkthrough makes the entire process simple and beginner-friendly.
Watch the complete tutorial here:
After watching the tutorial, continue with the written guide below for detailed explanations, recommended deployment settings, and additional deployment tips.
Getting Started with MS Host
Step 1: Create an Account
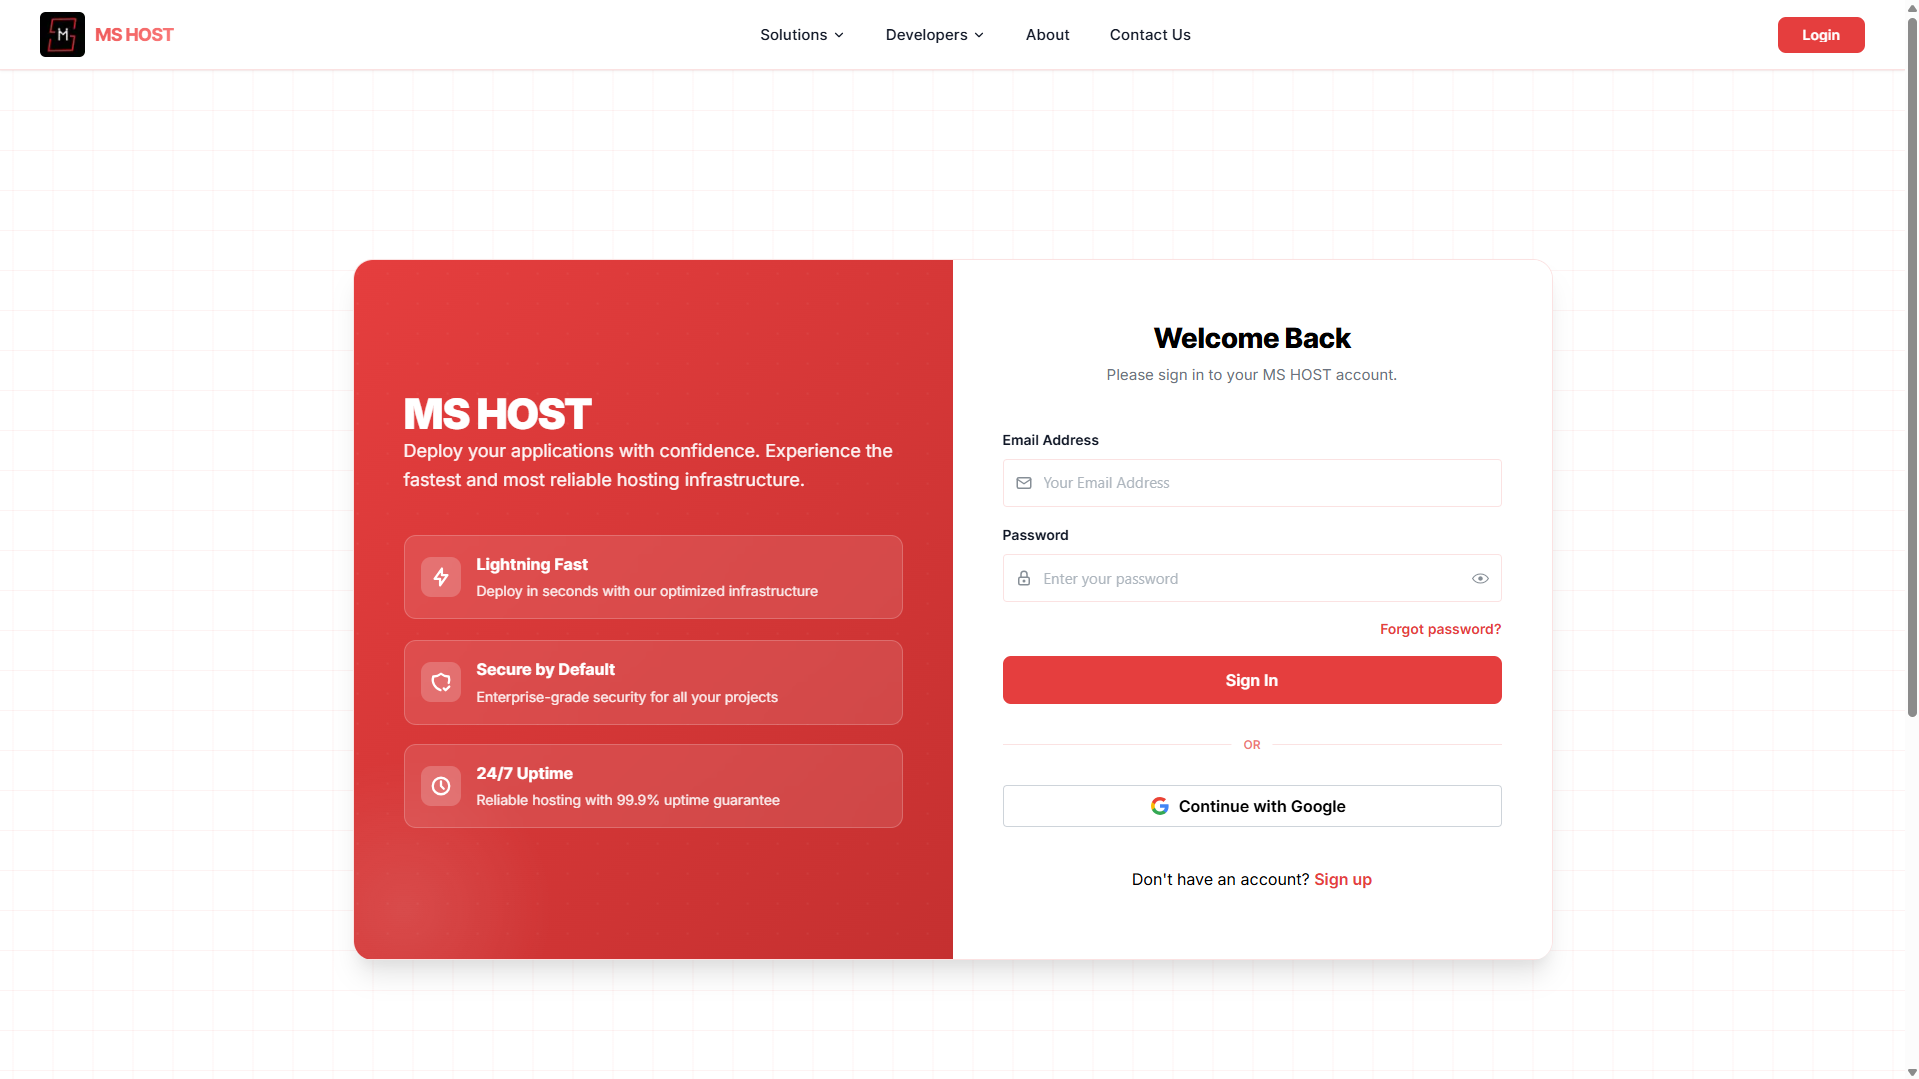
Visit MS Host and create an account.
You can register using:
- Email and password
- Google Sign-In
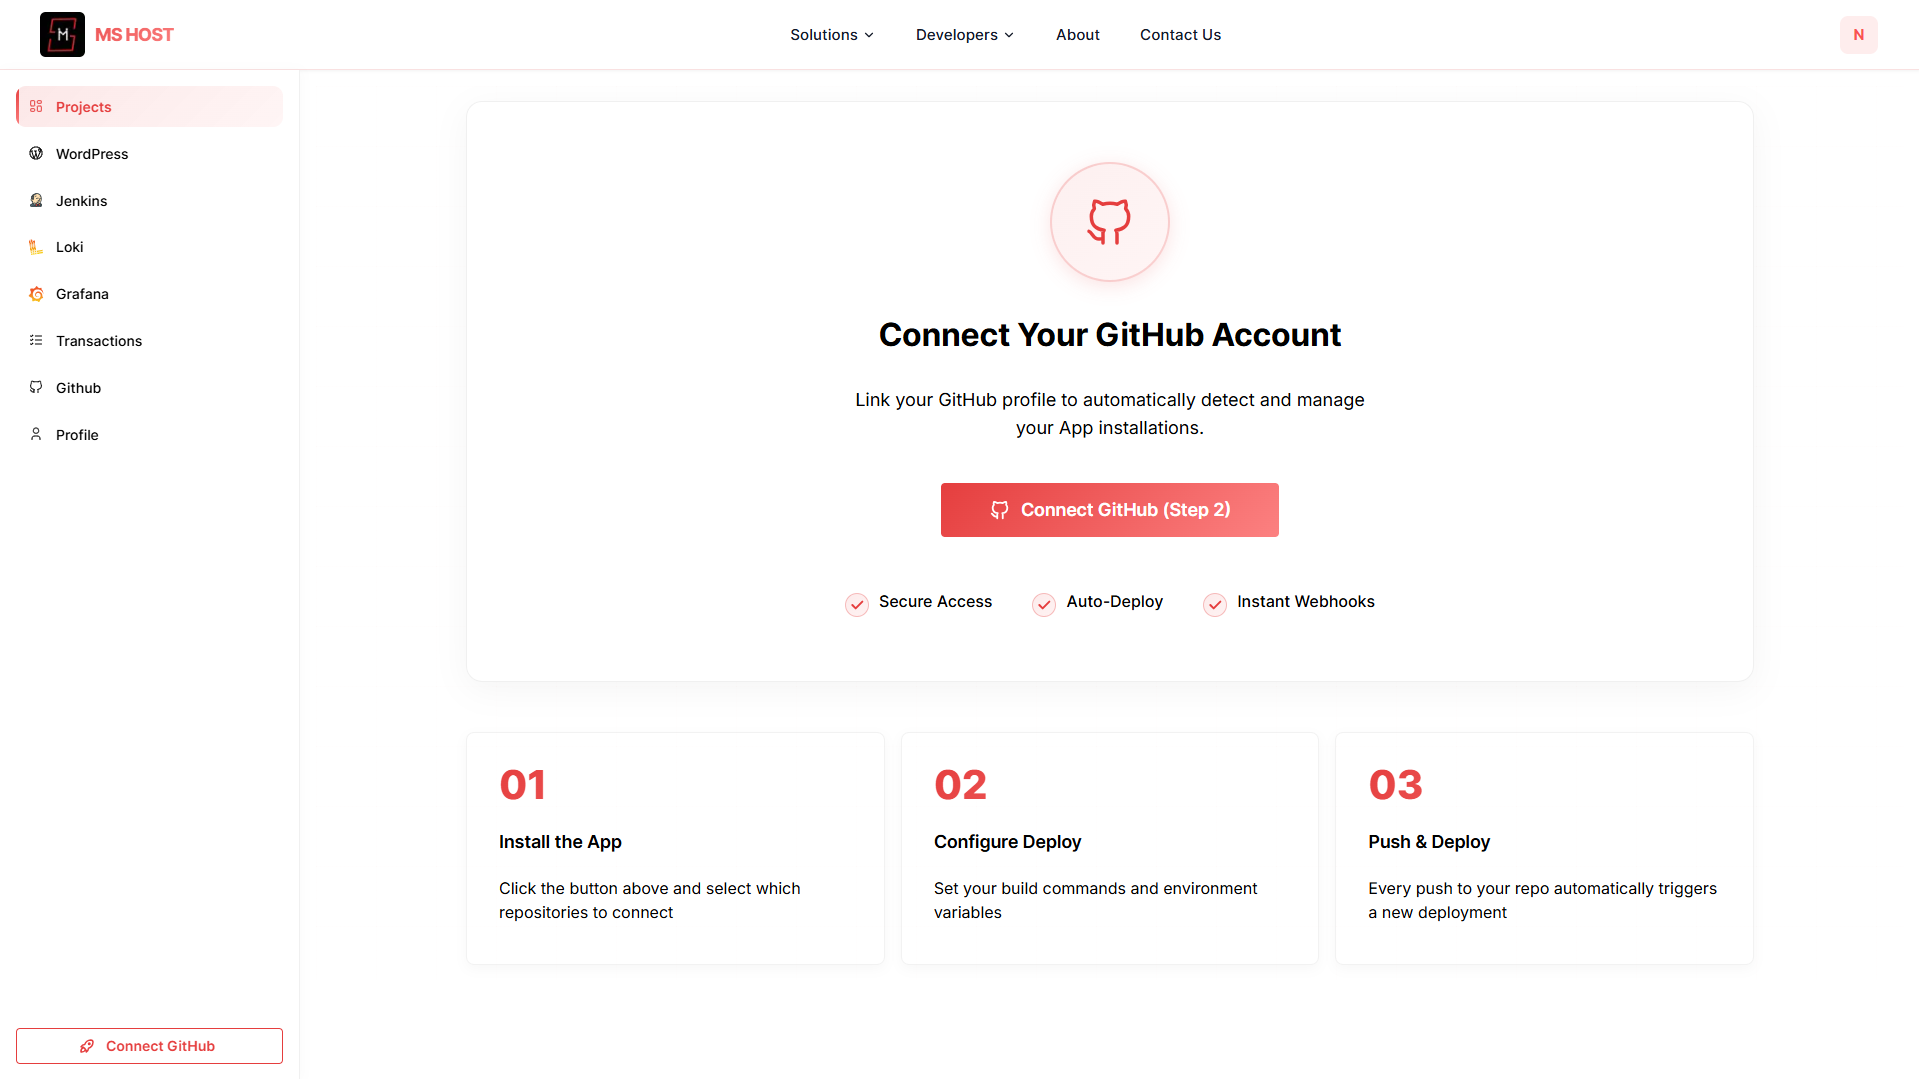
After logging in, you'll have access to the deployment dashboard.
Step 2: Connect GitHub
Before deploying, connect your GitHub account.
This allows MS Host to:
- Access repositories
- Detect new commits
- Keep applications synchronized with source code
Once connected, your repositories become available during project creation.
Step 3: Push Your Project to GitHub
Make sure your React project is available in a GitHub repository.
Example:
git init
git add .
git commit -m "Initial React project"
git branch -M main
git remote add origin https://github.com/username/my-react-app.git
git push -u origin main
Now you're ready to deploy.
Deploy Your React Application
Step 1: Project Name
Enter a name for your deployment.

Example:
my-reactor
my-viteStep 2: Select Repository
Choose the GitHub repository containing your React application.
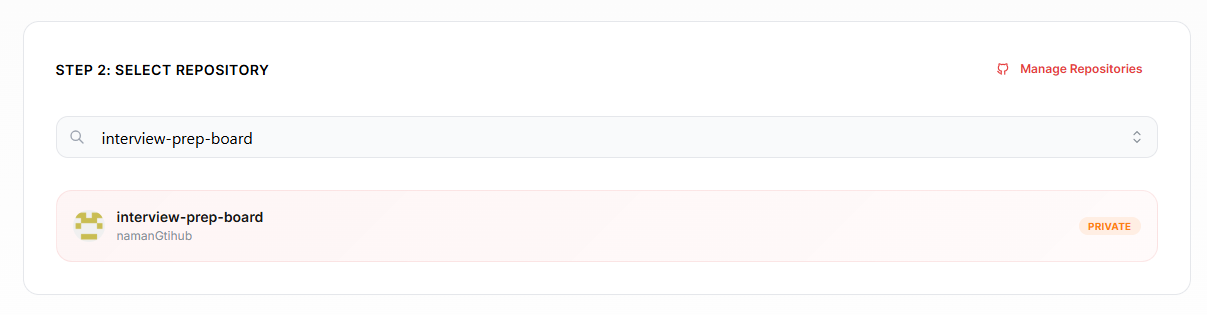
MS Host automatically displays repositories from your connected GitHub account.
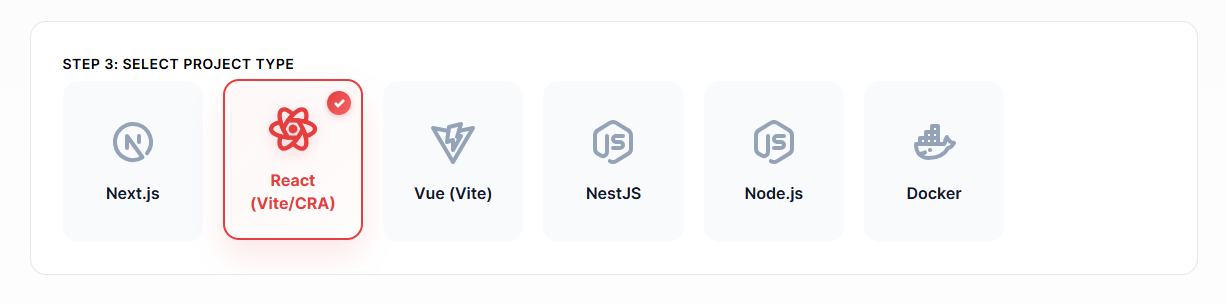
Step 3: Select Project Type
Choose:
React (Vite/CRA)
from the available deployment options.
MS Host automatically configures the appropriate build environment.
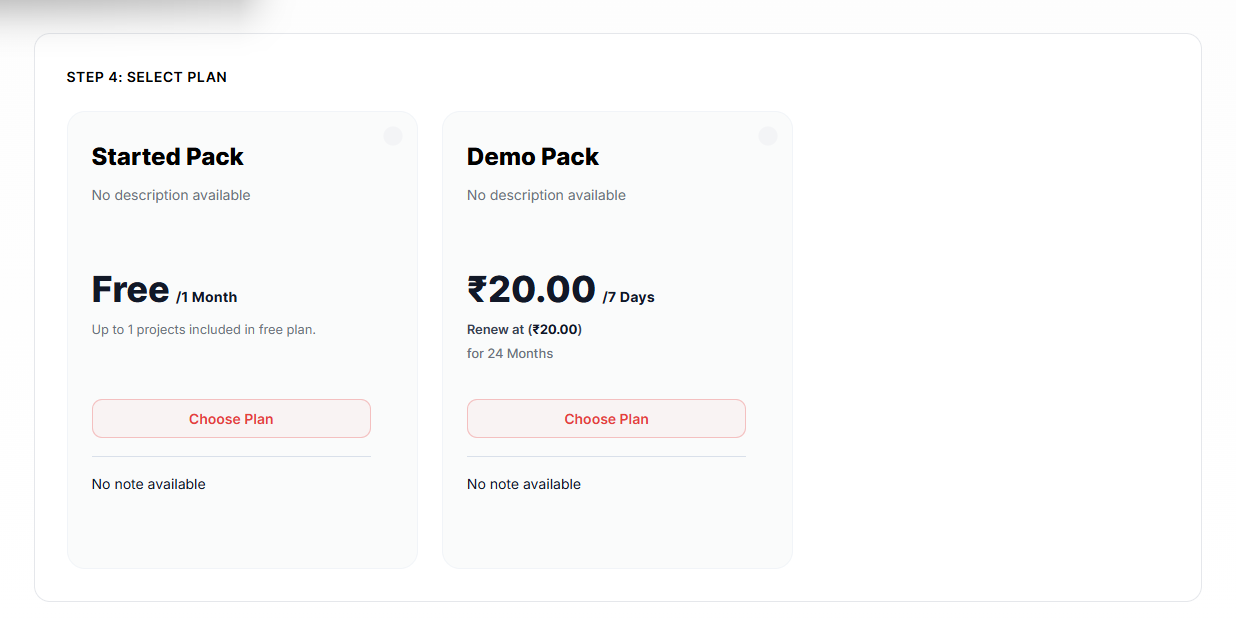
Step 4: Select Plan
Choose the Free Plan.
Perfect for:
- Portfolios
- Personal websites
- Landing pages
- Student projects
- MVPs
Step 5: Configure & Deploy
Review deployment settings.
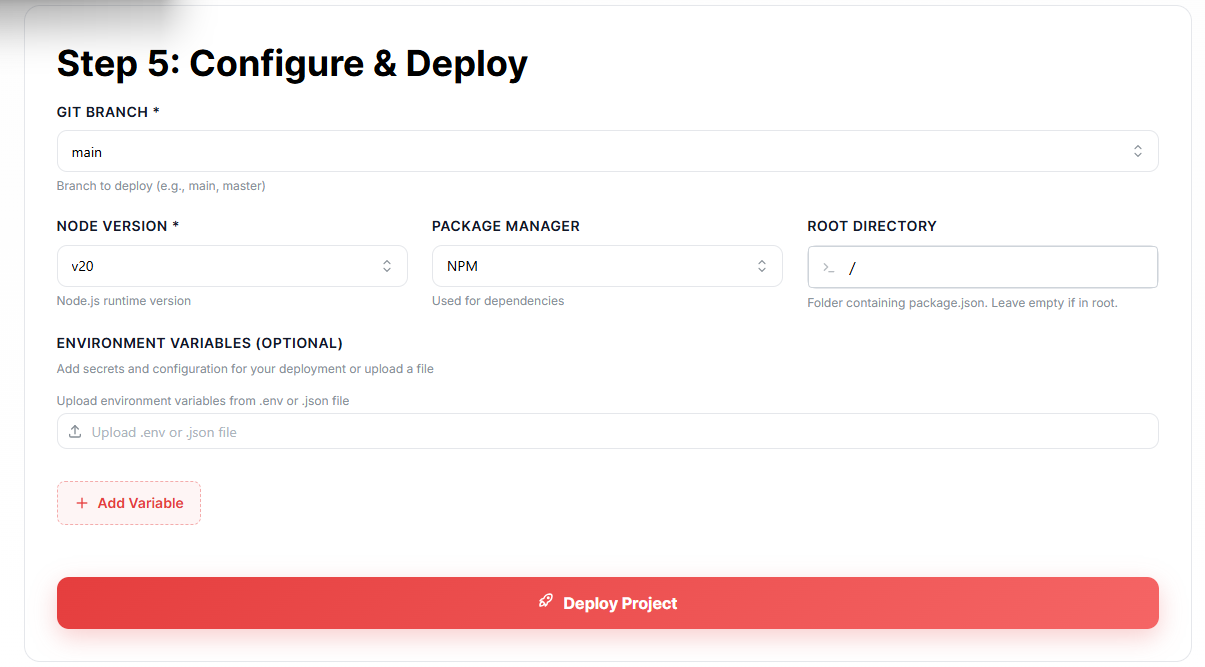
Git Branch
mainor
masterNode Version
v20Package Manager
npmRoot Directory
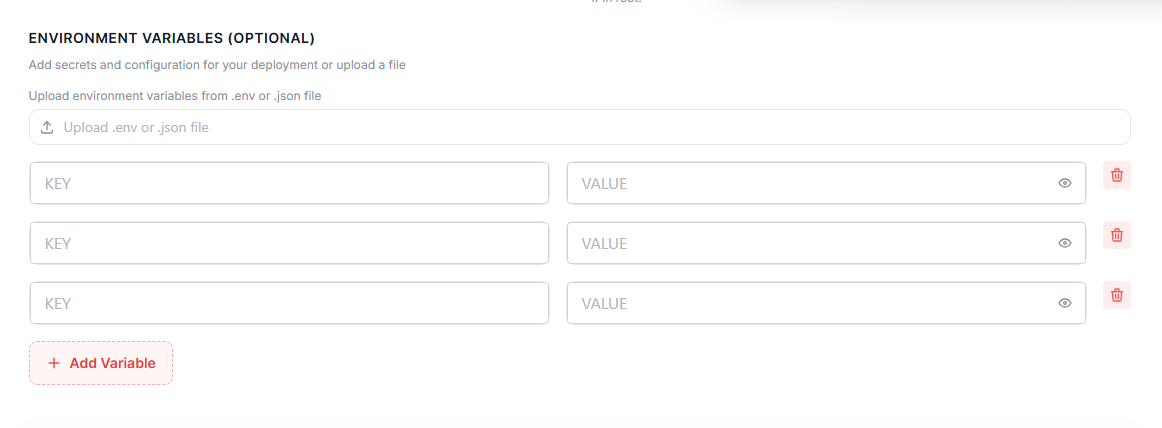
/Environment Variables (Optional)
Add any required variables for APIs or external services.
You can either:
- Upload a
.envfile - Add variables manually
Example:
VITE_API_URL=
VITE_APP_NAME=
Click:
Deploy Project
MS Host will automatically:
- Pull your repository
- Install dependencies
- Build your application
- Publish it online
Monitor Deployment
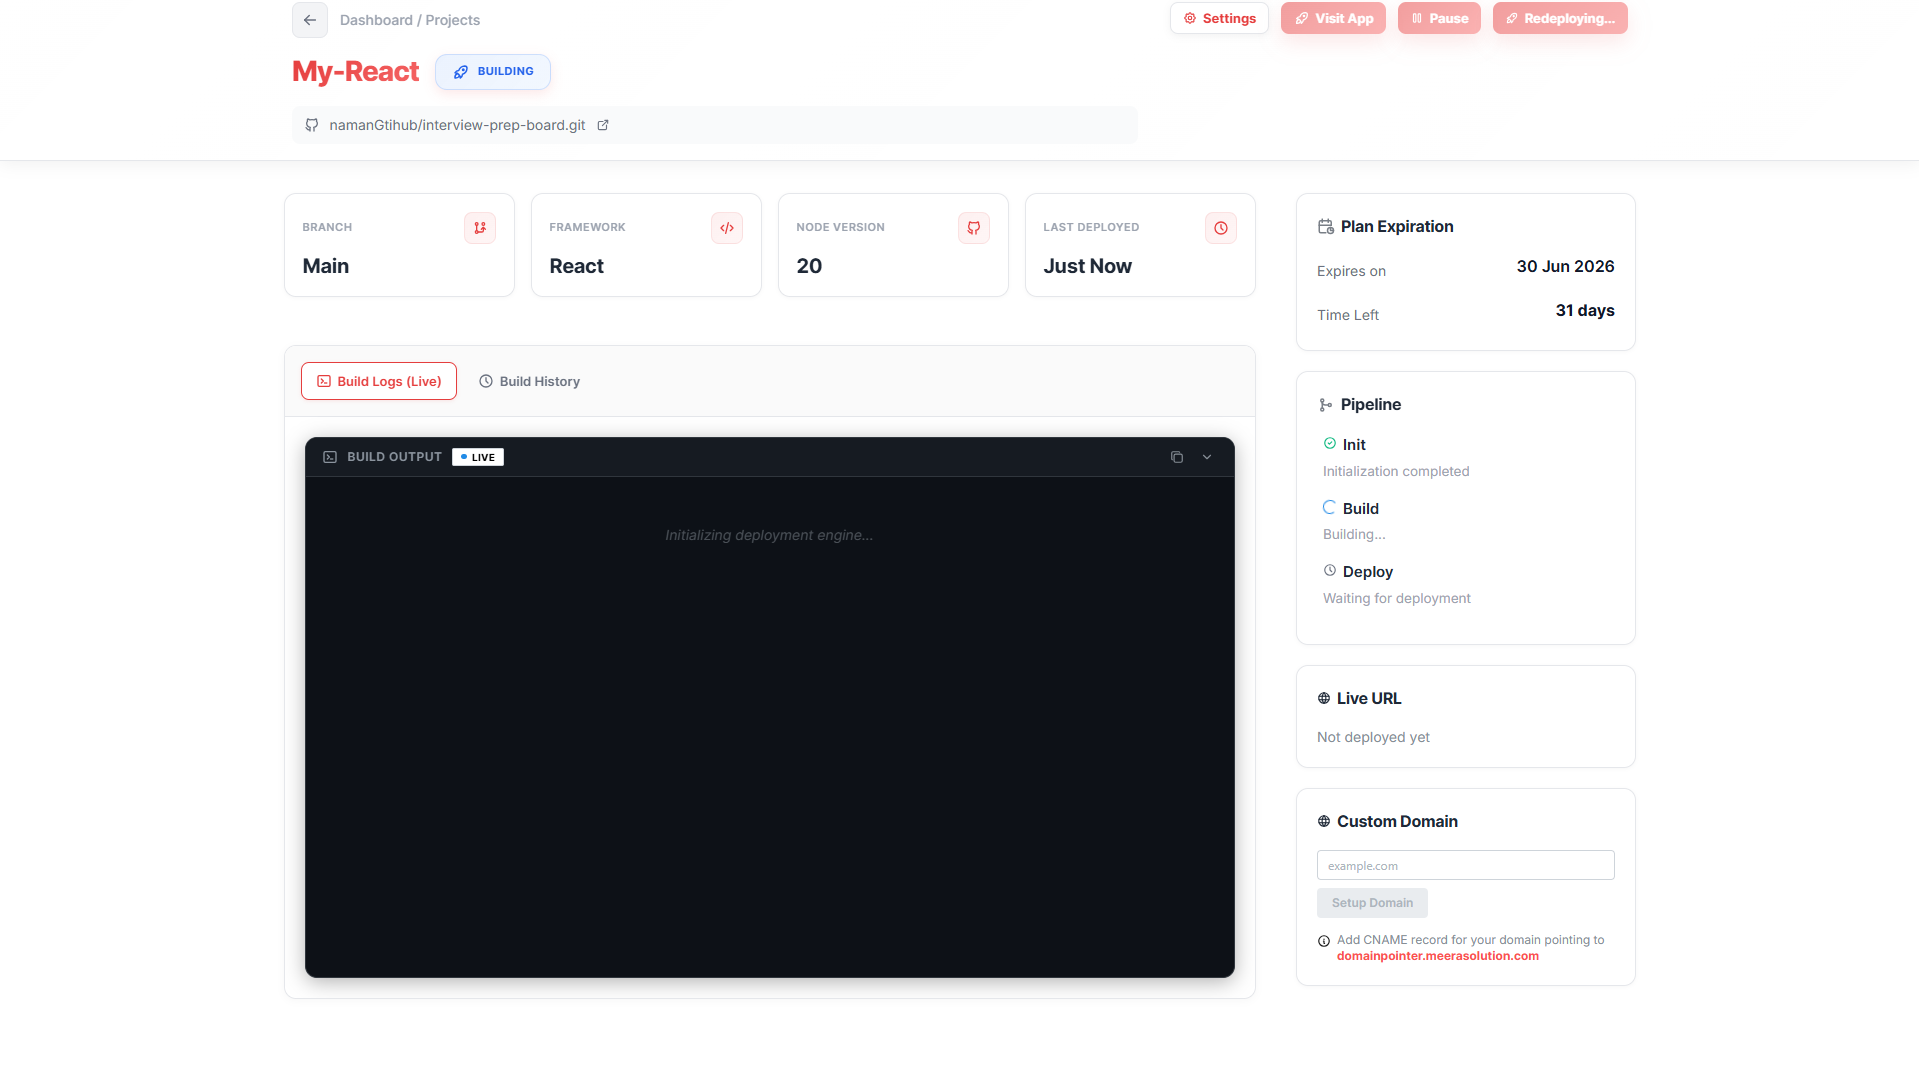
After deployment starts, you'll be redirected to the project dashboard.
The dashboard provides:
- Build logs
- Deployment status
- Framework information
- Live URL
- Custom domain settings
Connect a Custom Domain
Want a professional website address?
Instead of:
my-project.ms-host.appyou can use:
myreact.yourdomain.comSimply add your domain and follow the DNS instructions provided by MS Host.
Final Thoughts
React and Vite have become one of the most powerful combinations for modern frontend development.
React provides a flexible component-based architecture, while Vite delivers an incredibly fast developer experience.
But building an application is only half the journey.
The next step is making it available to users.
With MS Host, you can move from local development to a live website in minutes. GitHub integration, free hosting, and custom domain support remove the complexity of traditional hosting.
Build your React application.
Push it to GitHub.
Deploy it for free.
And let MS Host handle the infrastructure while you focus on creating amazing user experiences. 🚀