How to Deploy a NestJS Application for Free in 2026 (Complete Beginner's Guide)
Learn what NestJS is and how to deploy your NestJS application for free using MS Host. Connect GitHub, configure your backend, enable automatic deployments, and launch your API in minutes. 🚀

Introduction
Most backend developers face the same challenge.
Building an API is easy.
Getting it online is where things become complicated.
You finish developing your NestJS application, test all your endpoints, connect your database, and everything works perfectly on localhost. Then you start searching for answers:
- Where should I host my NestJS API?
- Do I need a VPS?
- How do I configure Node.js on a server?
- How do I keep my application running 24/7?
The good news is that modern deployment platforms have made this process dramatically easier.
In this guide, you'll learn how to deploy a NestJS application for free using MS Host.
Why Deploying NestJS Can Be Difficult
Unlike frontend applications, backend services require additional configuration.
Developers often need to manage:
- Node.js environments
- Process management
- SSL certificates
- Reverse proxies
- Domain configuration
- Server maintenance
For beginners, this can feel overwhelming.
Why Choose MS Host for NestJS Deployment?
Deploying a NestJS application traditionally requires configuring servers, managing Node.js environments, handling SSL certificates, and maintaining infrastructure.
MS Host simplifies this entire process by providing a developer-friendly deployment platform designed for modern JavaScript frameworks.
With MS Host, you can:
- Deploy NestJS applications directly from GitHub
- Start with a free hosting plan
- Monitor deployments with live build logs
- Connect custom domains
- Manage projects from a single dashboard
Instead of spending hours configuring servers, you can focus on building APIs and shipping features.
Watch the Complete NestJS deployment tutorial
Prefer learning by watching instead of reading?
This step-by-step video tutorial walks you through the complete process of deploying a NestJS application on MS Host. You'll see how to connect your GitHub repository, create a deployment project, configure production settings, monitor build logs, and launch your API online—all without managing servers manually.
Whether you're deploying your first backend application or looking for a faster workflow, this video covers everything you need to get started.
📺 Watch the complete tutorial here:
After watching the tutorial, continue with the written guide below for detailed explanations, recommended deployment settings, and additional tips.
Getting Started with MS Host
Before deploying your NestJS application, you'll need to connect your GitHub account.
The process only takes a few minutes.
Create an Account
Visit MS Host and create your account.
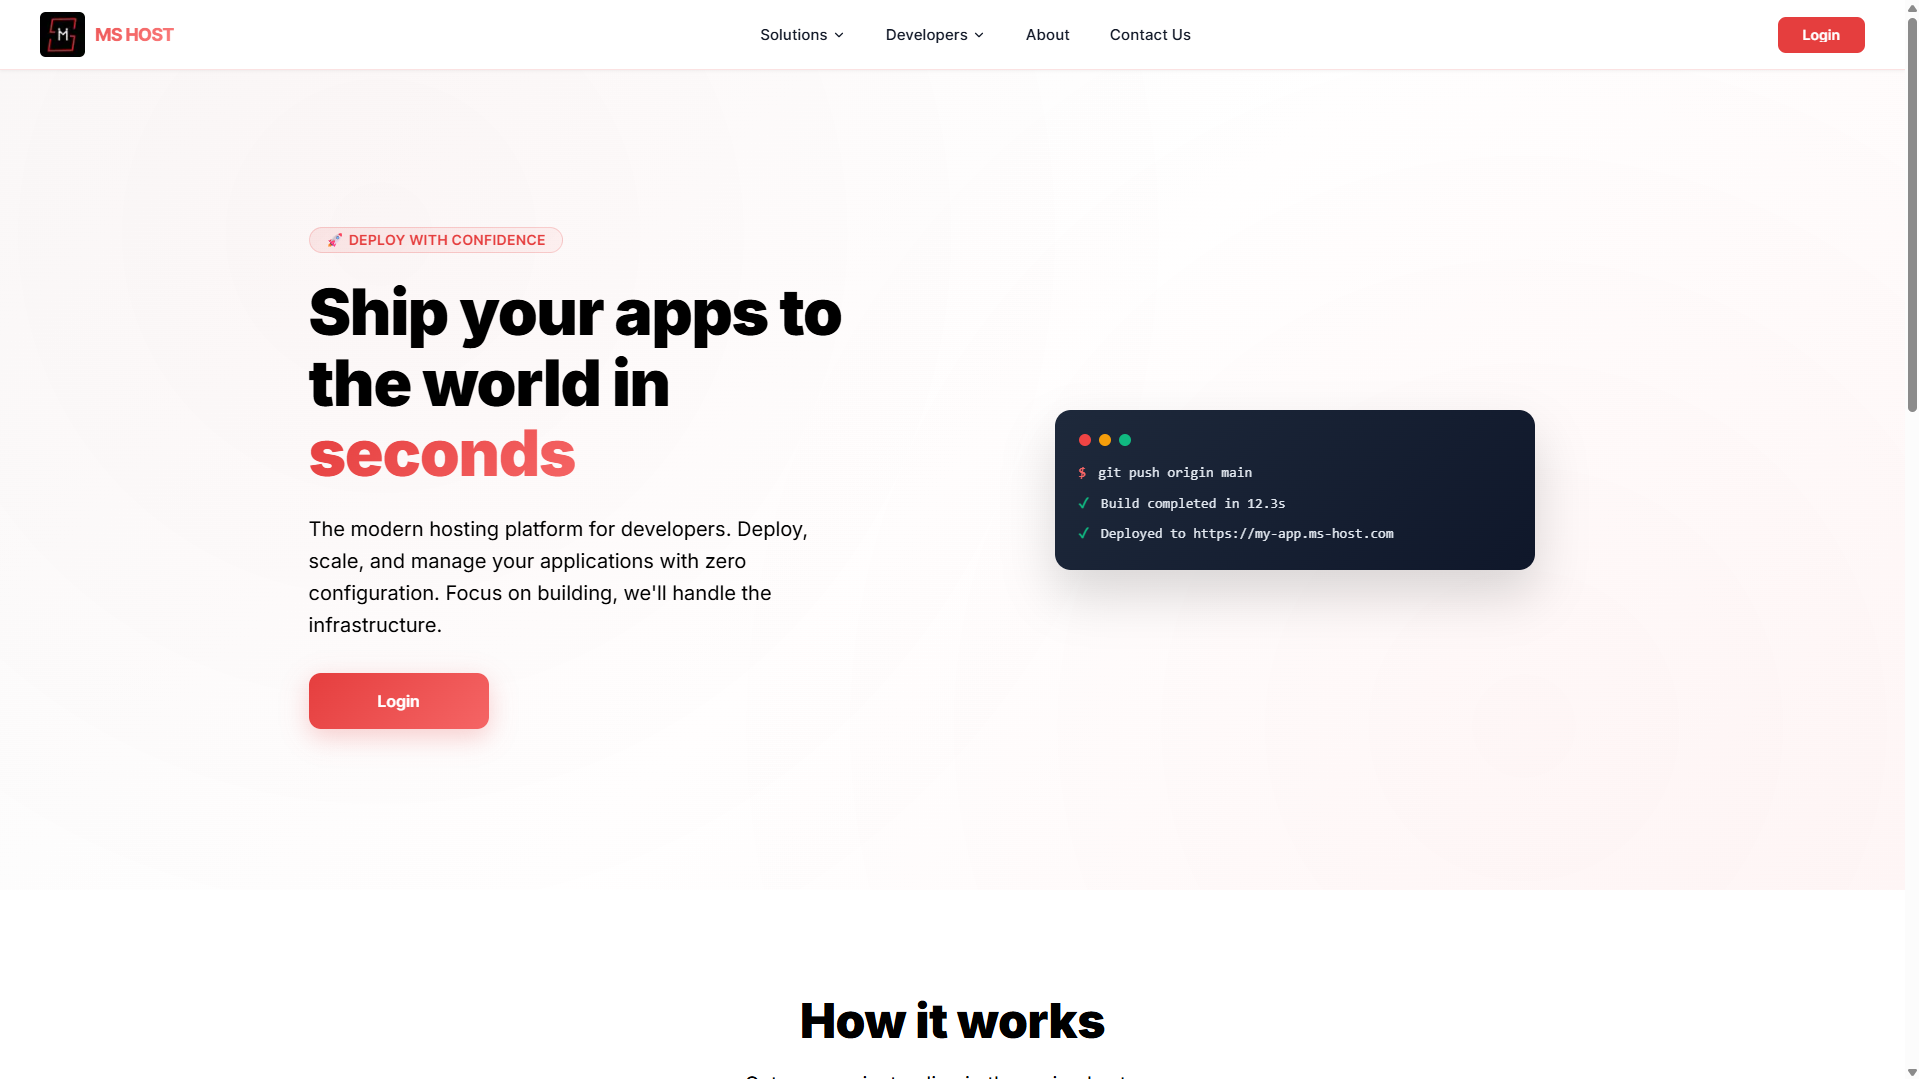
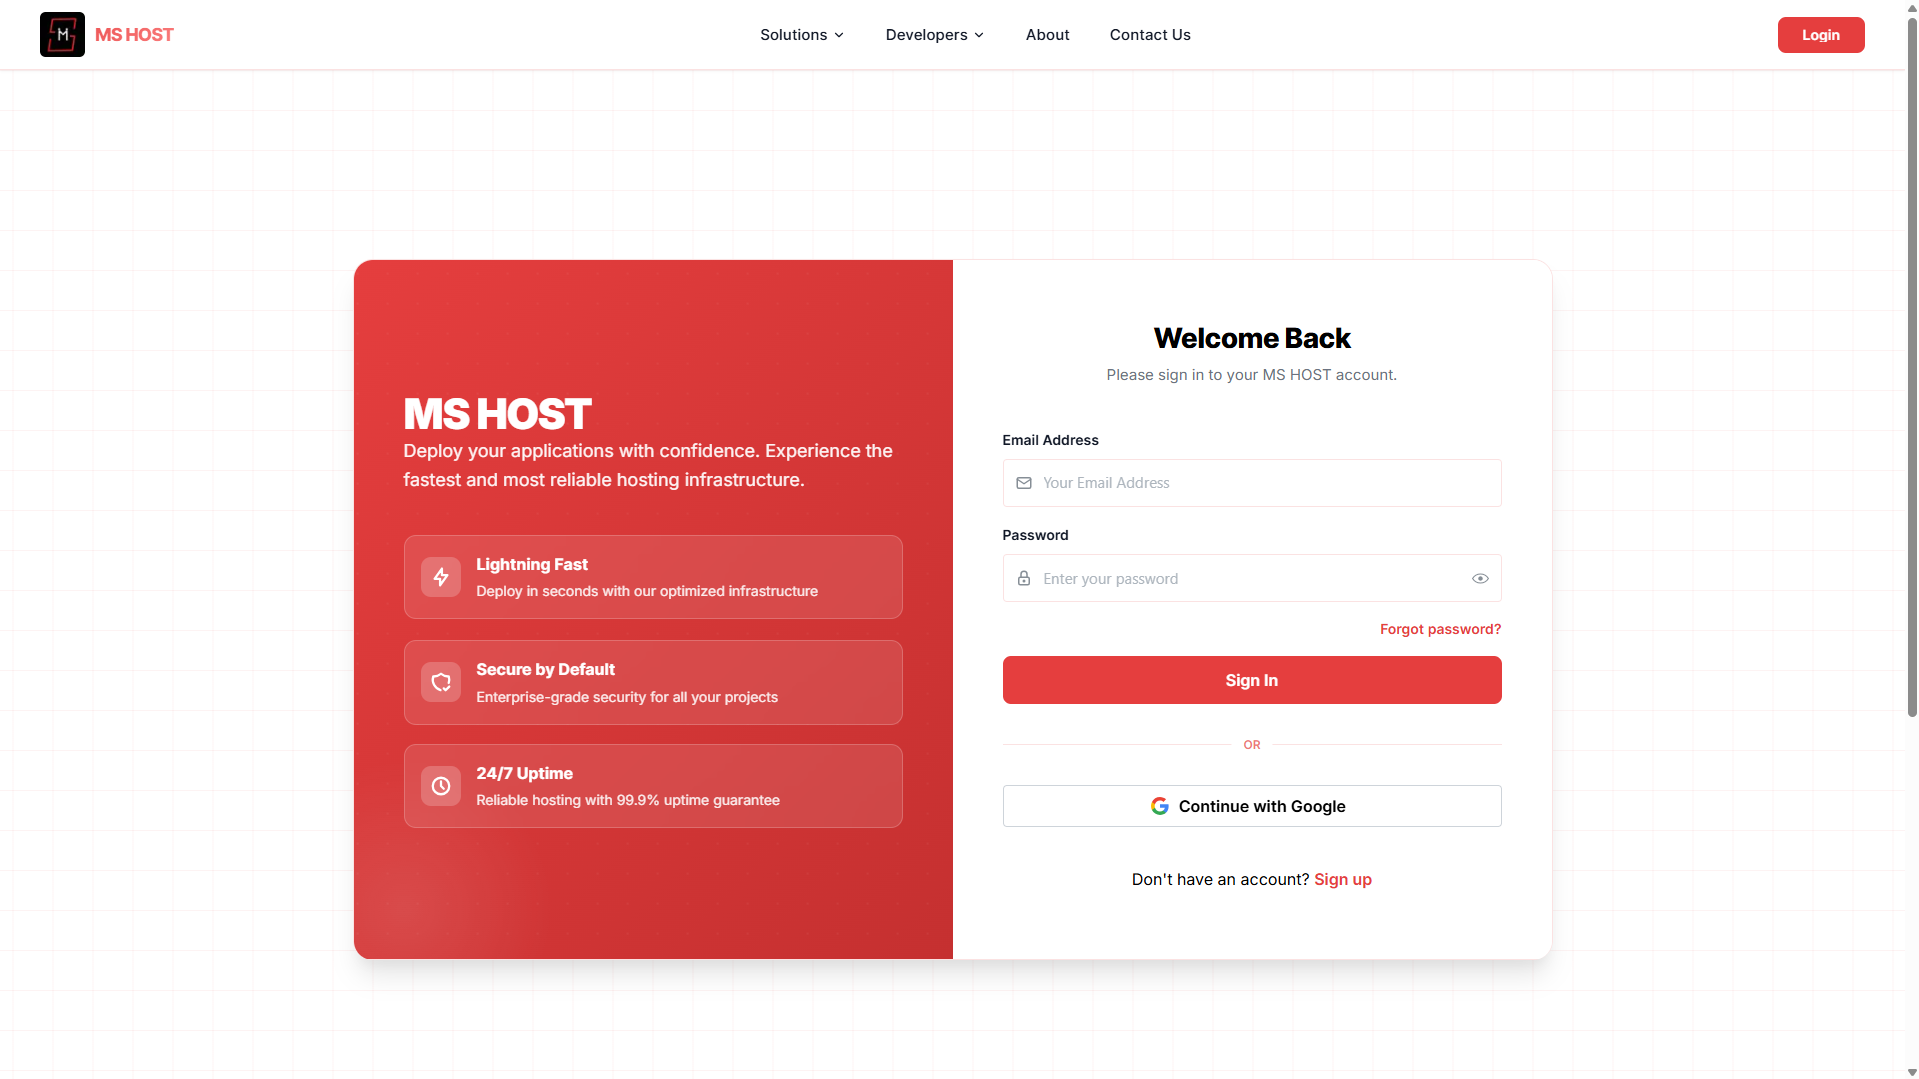
Once registered, you'll gain access to the deployment dashboard where all your projects can be managed.
Connect GitHub
After logging in, navigate to the GitHub integration section and authorize access to your repositories.
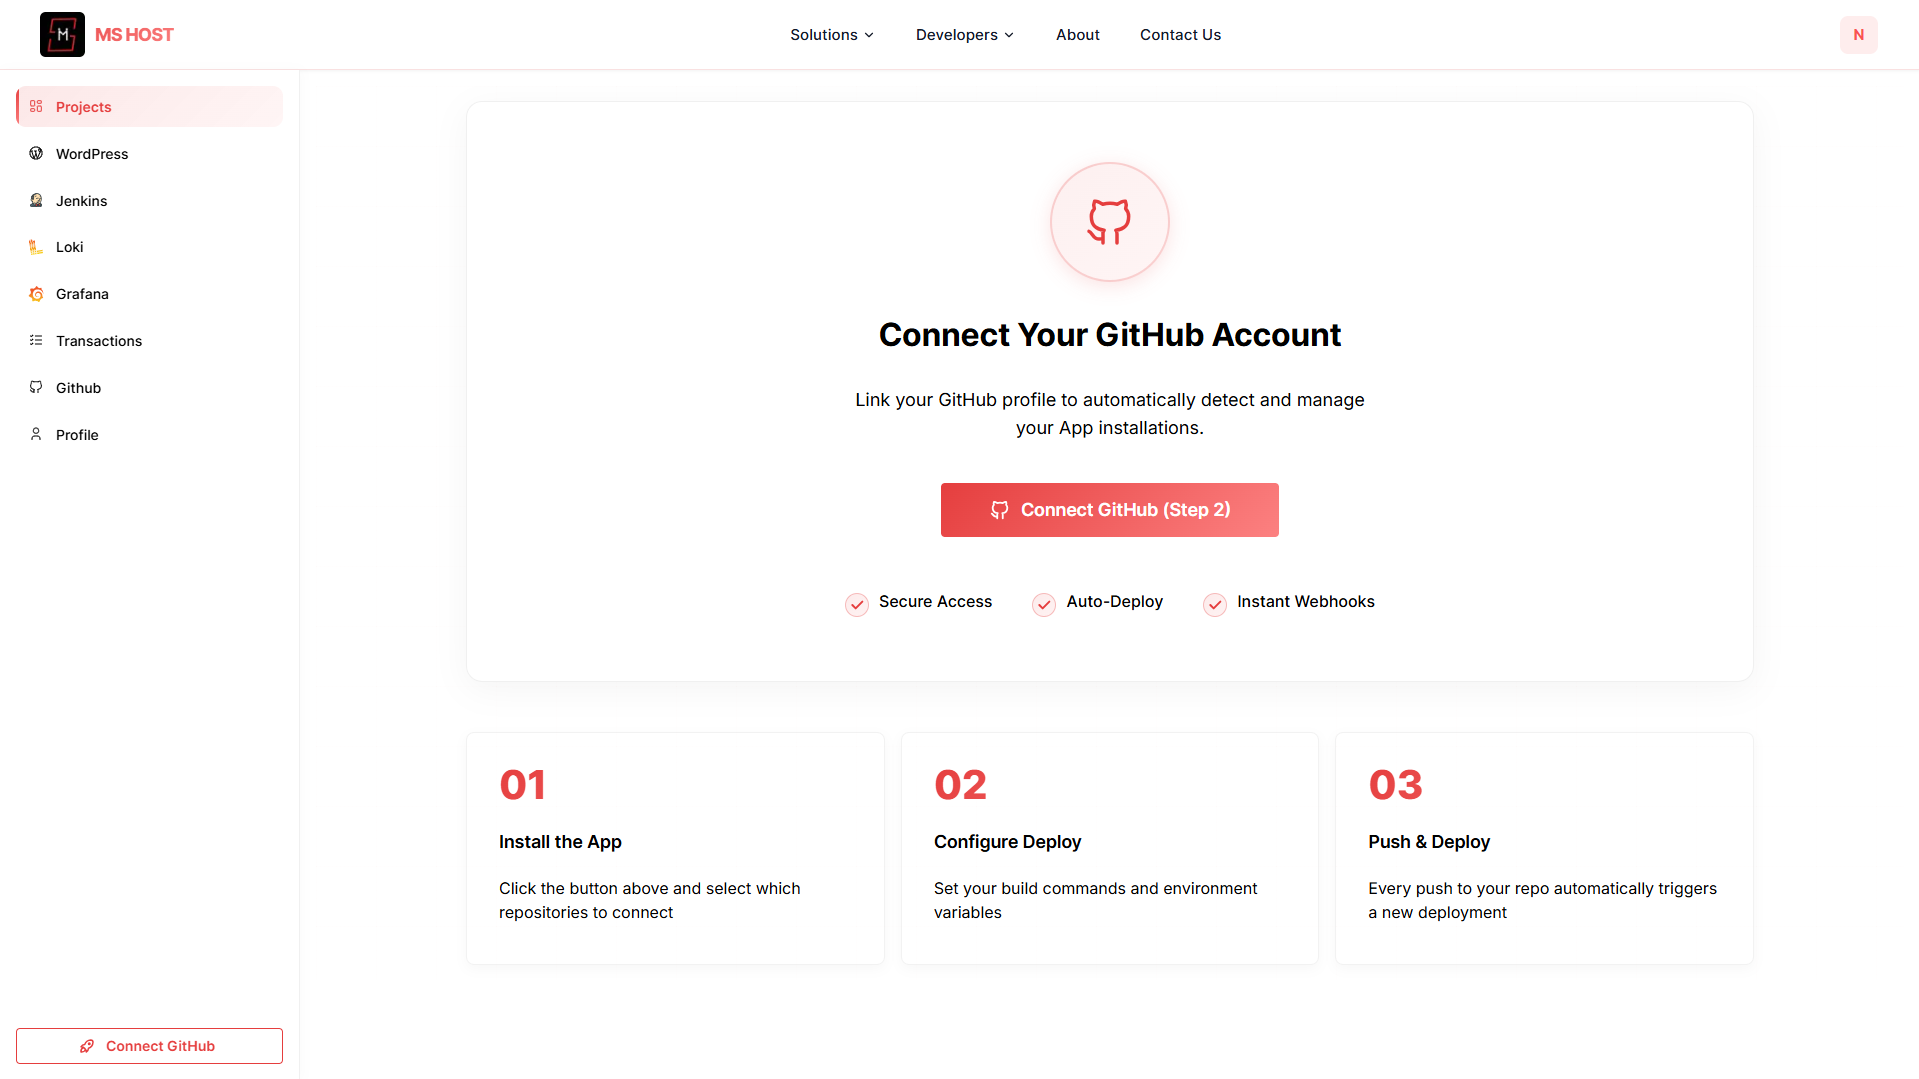
This allows MS Host to:
- Read your repositories
- Detect new commits
- Keep your application synchronized with GitHub
Once connected, your repositories will become available during project creation.
Push Your NestJS Project to GitHub
Before deployment, make sure your NestJS project is available in a GitHub repository.
Example:
git init
git add .
git commit -m "Initial NestJS project"
git branch -M main
git remote add origin https://github.com/username/my-api.git
git push -u origin main
After the repository is available on GitHub and your account is connected to MS Host, you're ready to deploy.
Deploy Your NestJS Application
Step 1: Project Name
Enter a name for your deployment.

Example:
nestjs-apiStep 2: Select Repository
Choose the GitHub repository containing your NestJS application.
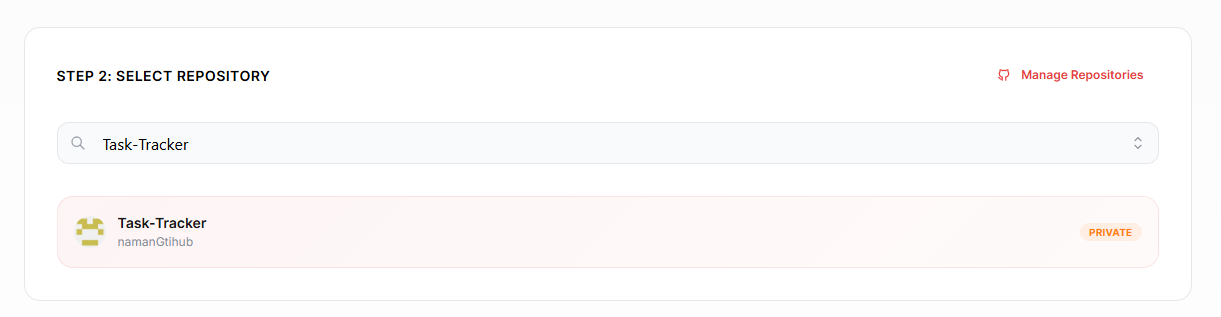
MS Host automatically displays repositories from your connected GitHub account.
Step 3: Select Project Type
Choose NestJS from the available framework options.
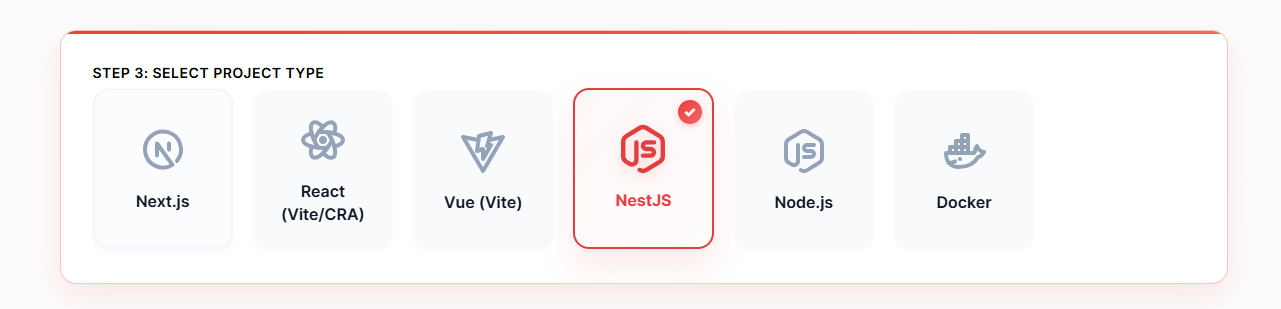
This ensures the platform automatically configures the correct environment for your application.
Step 4: Select Plan
Choose the Free Plan to get started.
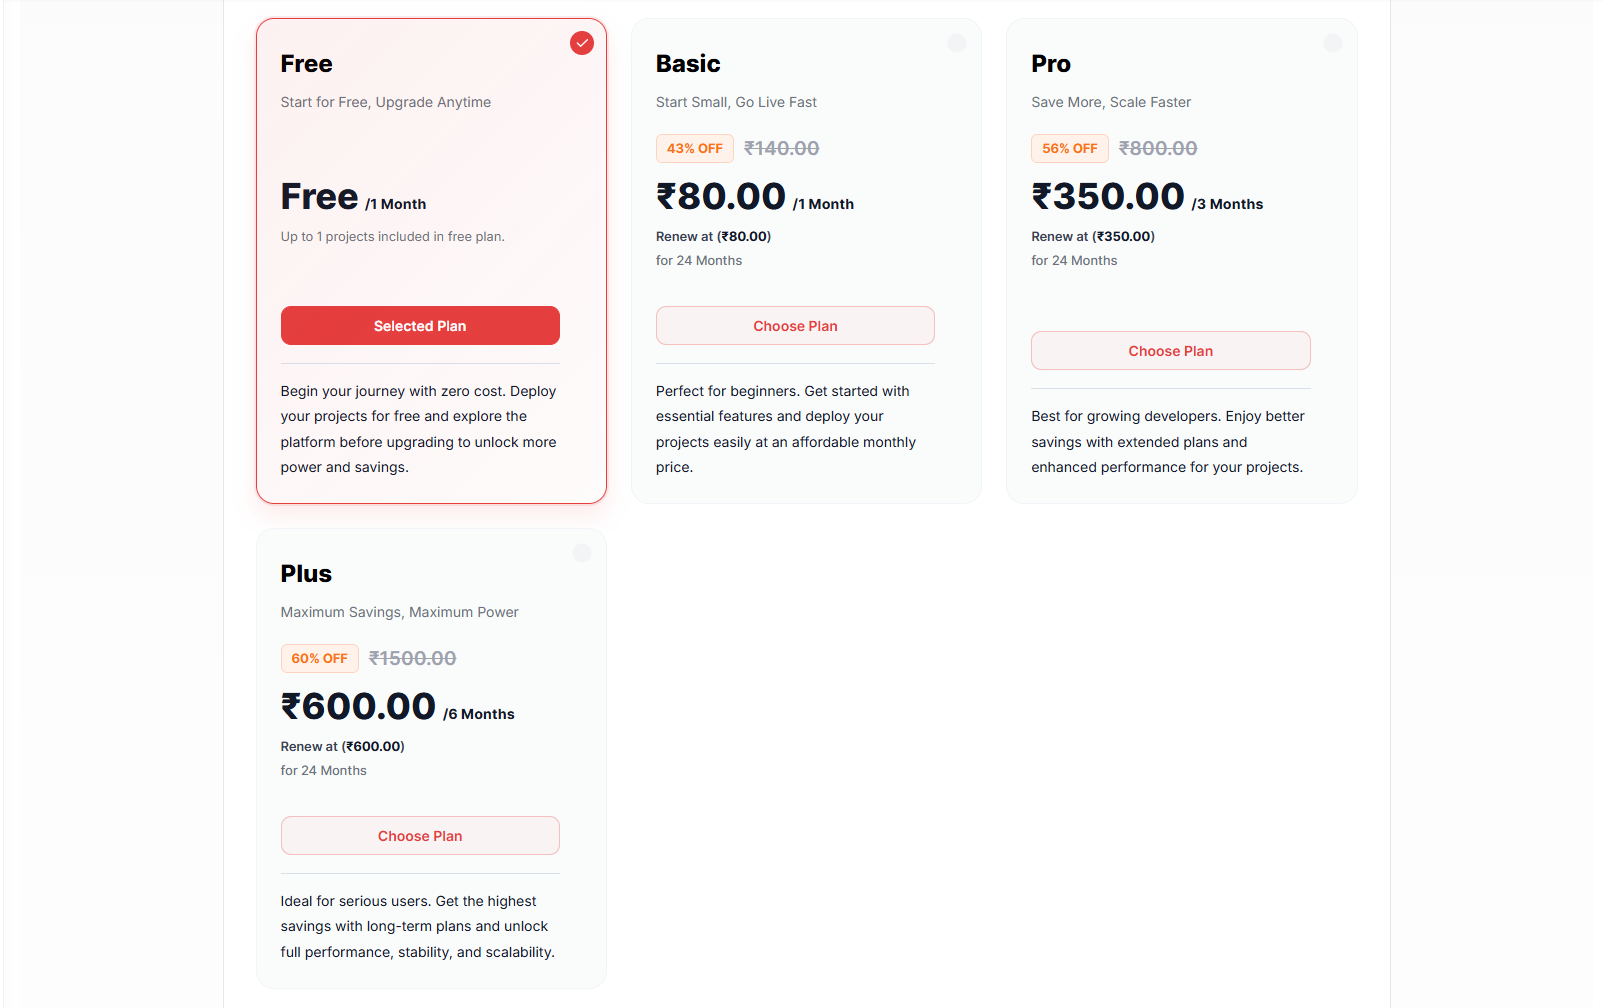
Step 5: Configure & Deploy
After selecting your plan, you'll be asked to configure your deployment settings before launching your application.
MS Host provides several options to ensure your application runs correctly in production.
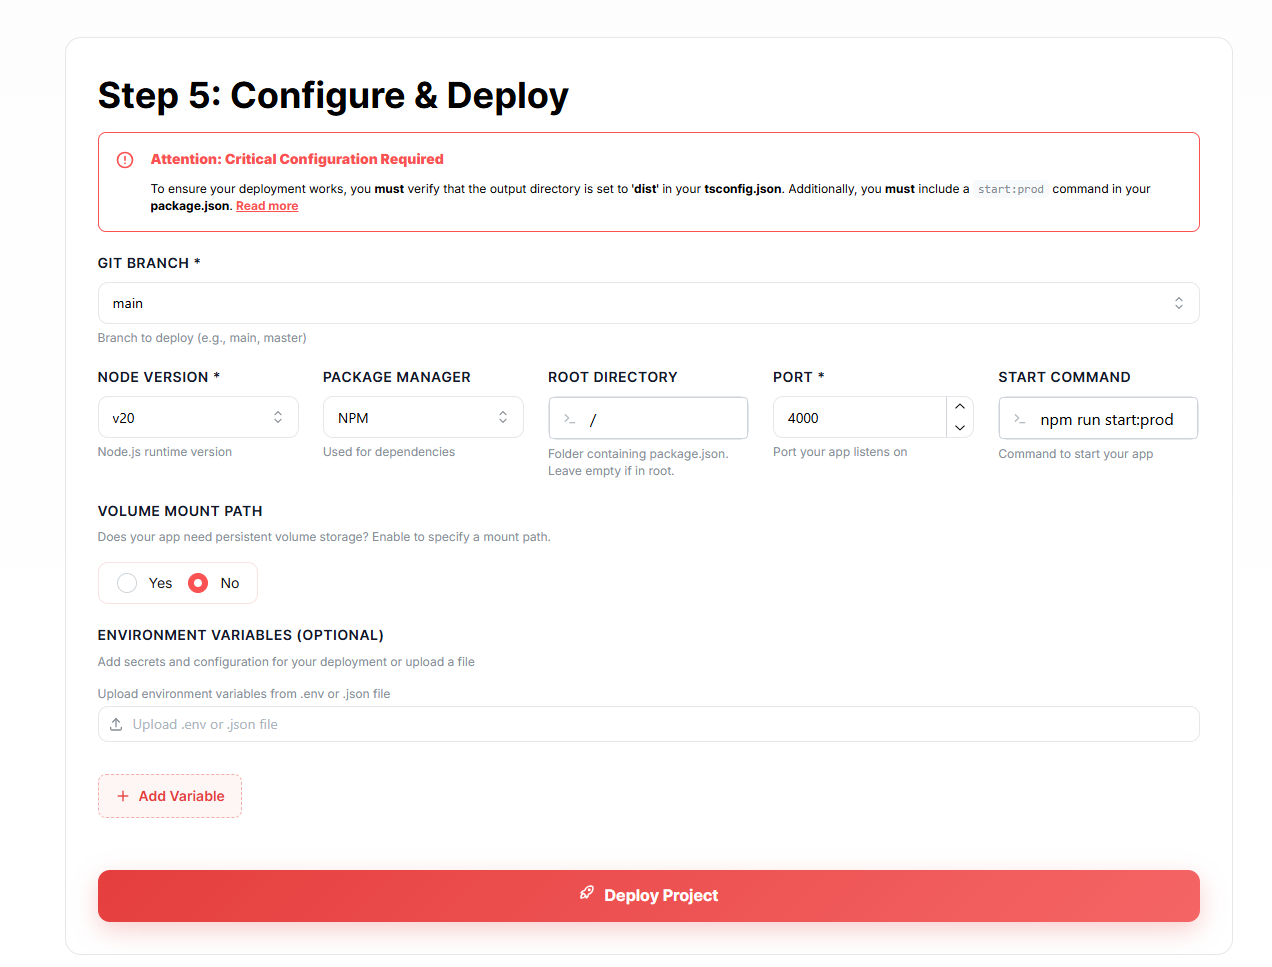
Important Deployment Requirements
Before deploying, make sure your application is production-ready.
Verify that:
- Your build output is generated correctly.
- Your application includes a production start command.
- Required environment variables are configured.
The deployment page will display important notices whenever additional configuration is required.
Git Branch
Select the branch you want to deploy.
Most projects use:
mainor
masterMS Host will automatically pull code from the selected branch whenever a new deployment is triggered.
Node Version
Choose the Node.js runtime version for your application.
Recommended:
v20Using a modern Node.js version ensures better performance, security, and compatibility with current dependencies.
Package Manager
Select the package manager used by your project.
Supported options include:
npmyarn
pnpm
Choose the same package manager used in your repository.
Root Directory
If your application is located in the root of the repository, leave:
/If your application exists inside a subfolder, specify that directory instead.
Example:
apps/apiPort
Specify the port your application listens on.
Example:
4000Use the same port configured inside your application.
Start Command
Enter the command used to start your application in production.
Example:
npm run start:prodMS Host will execute this command after the build process completes.
Volume Mount Path (Optional)
If your application needs persistent storage, you can enable a volume mount path.
This is useful for applications that need to store files that should remain available after deployments.
Examples include:
- User uploads
- Generated reports
- Temporary documents
- Application assets
If your application doesn't require persistent storage, leave this disabled.
Environment Variables (Optional)
Most production applications require environment variables.
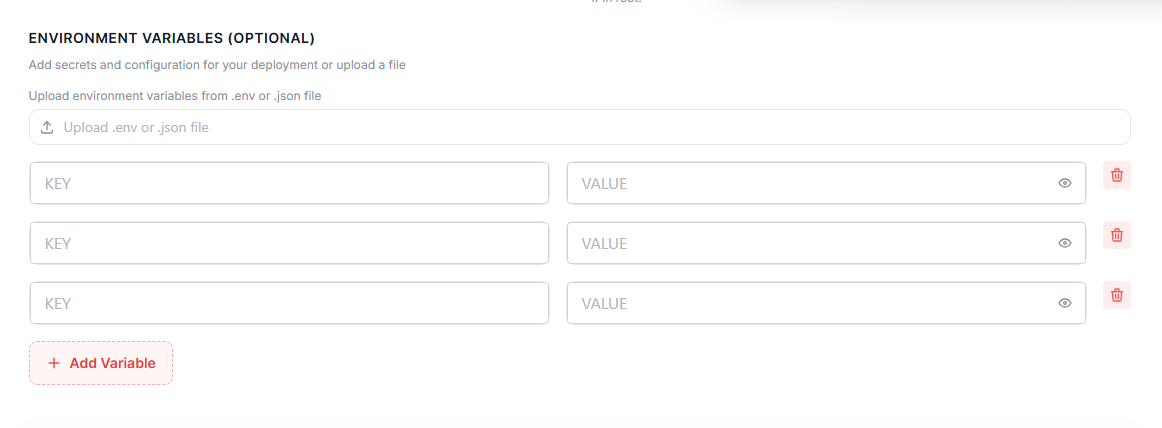
You can either:
- Upload a
.envfile - Add variables manually
Common examples include:
DATABASE_URL=
JWT_SECRET=
SMTP_USER=
SMTP_PASSWORD=
API_KEY=
To add variables manually:
- Click Add Variable
- Enter the variable name in the Key field
- Enter the value in the Value field
- Repeat for additional variables
This keeps sensitive information secure and separate from your source code.
Deploy Project
Once all settings have been configured:
- Review your deployment configuration.
- Verify environment variables.
- Confirm the start command.
- Click Deploy Project.
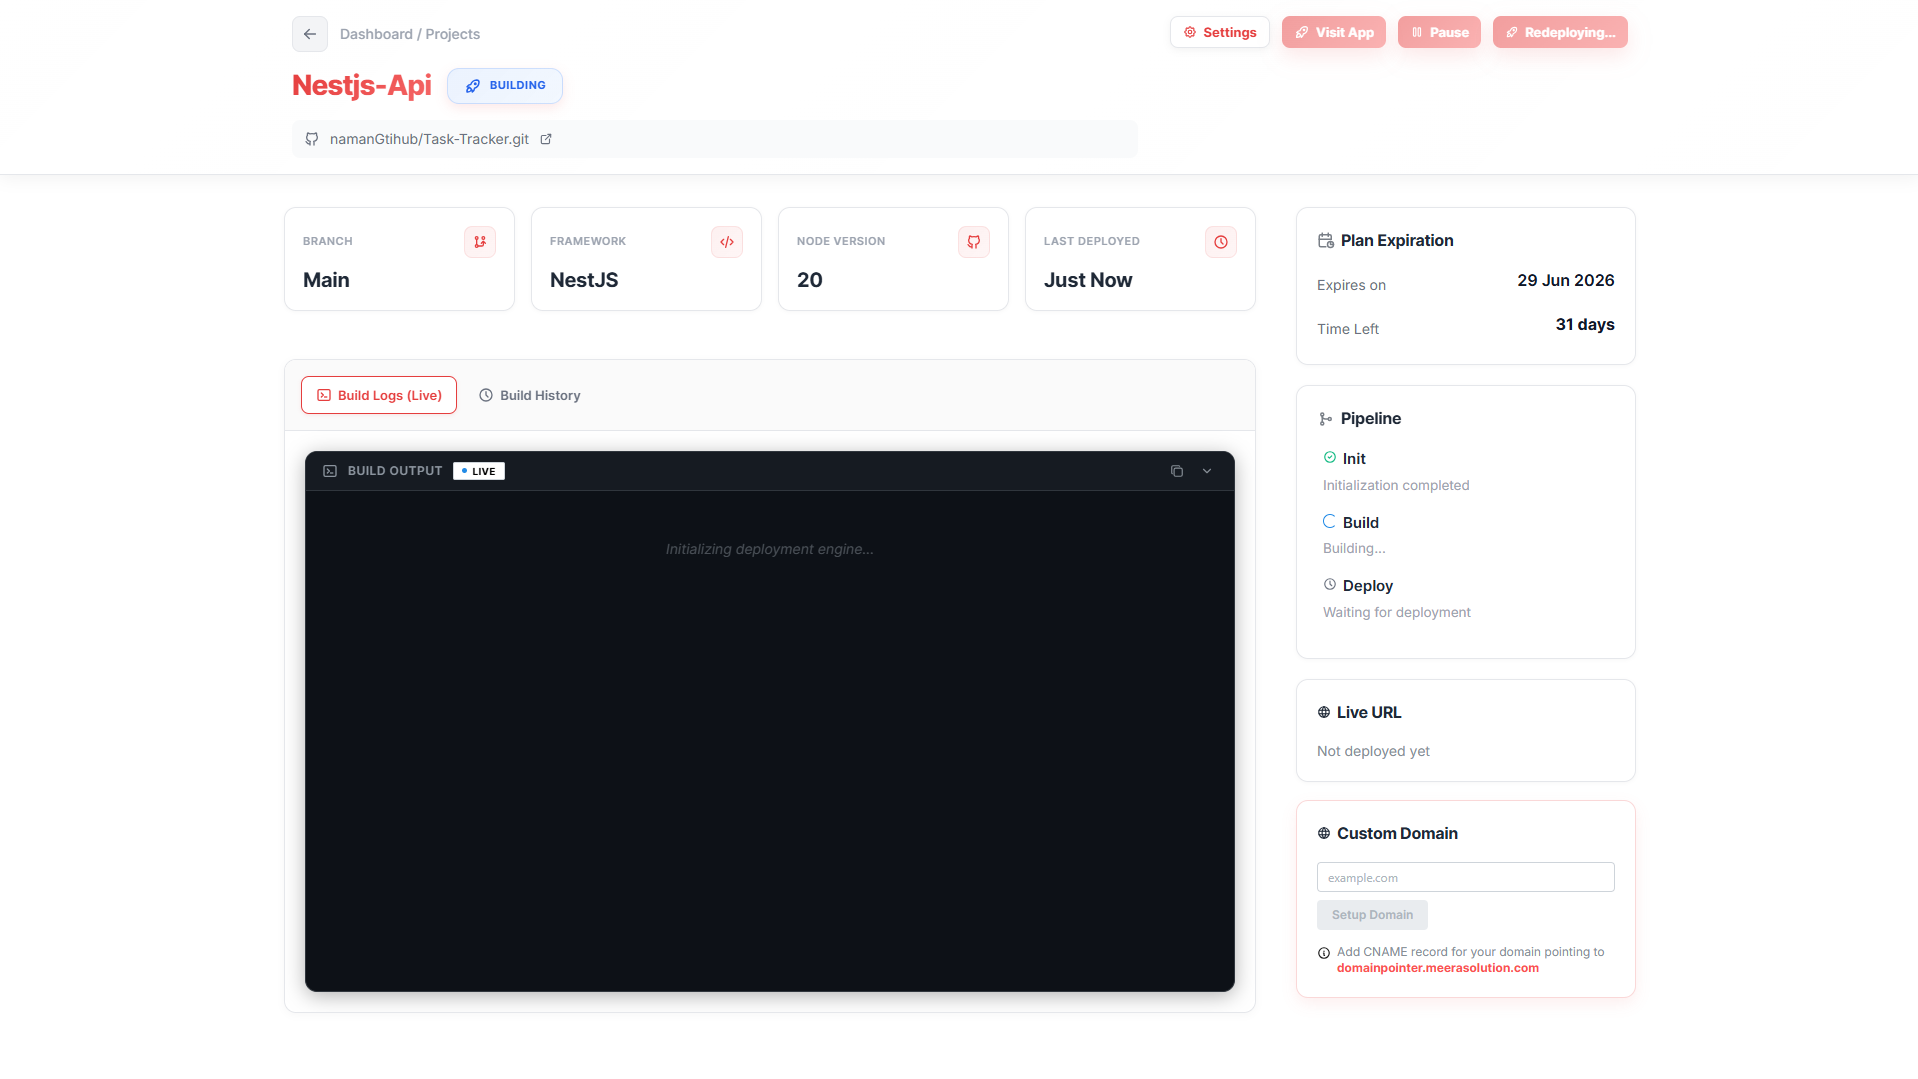
MS Host will then:
- Pull your repository from GitHub
- Install dependencies
- Build your application
- Start the production server
- Generate deployment logs
- Create a live deployment endpoint
Within a few minutes, your application will be online and ready for use.
Final Thoughts
NestJS has become one of the most popular backend frameworks because it combines TypeScript, scalability, maintainability, and enterprise-level architecture into a developer-friendly package.
But a great backend only creates value when it's available online.
With MS Host, you can move from a local NestJS application to a live production deployment in minutes. GitHub integration, live build logs, and custom domain support remove much of the complexity traditionally associated with backend hosting.
Build your API.
Push your code.
Deploy for free.
And let MS Host handle the infrastructure while you focus on building great software.